- Secure order
- Easy return shipment
- Service-Hotline +49 4231 668980
Instructions No. 4050
Difficulty: Beginner
Working time: 1 hour
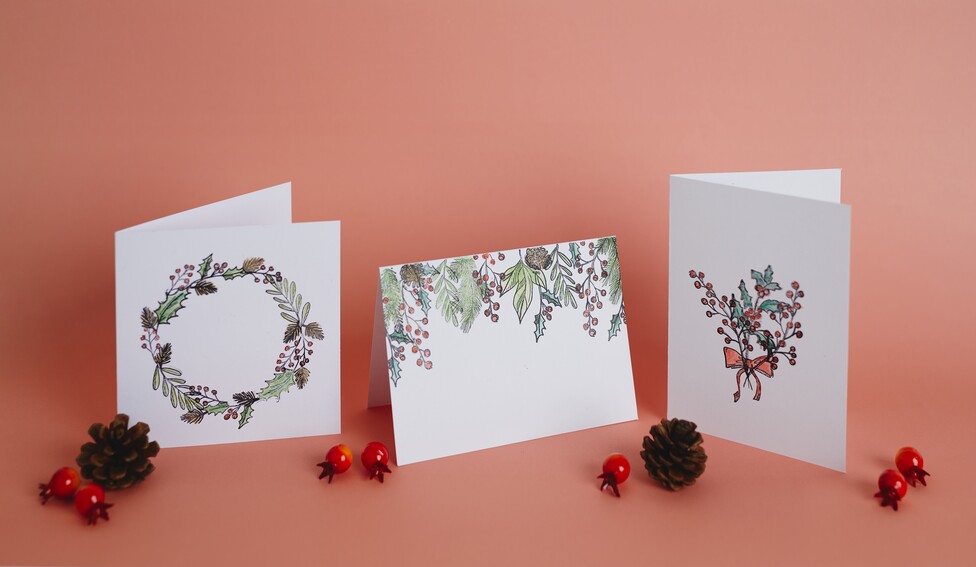
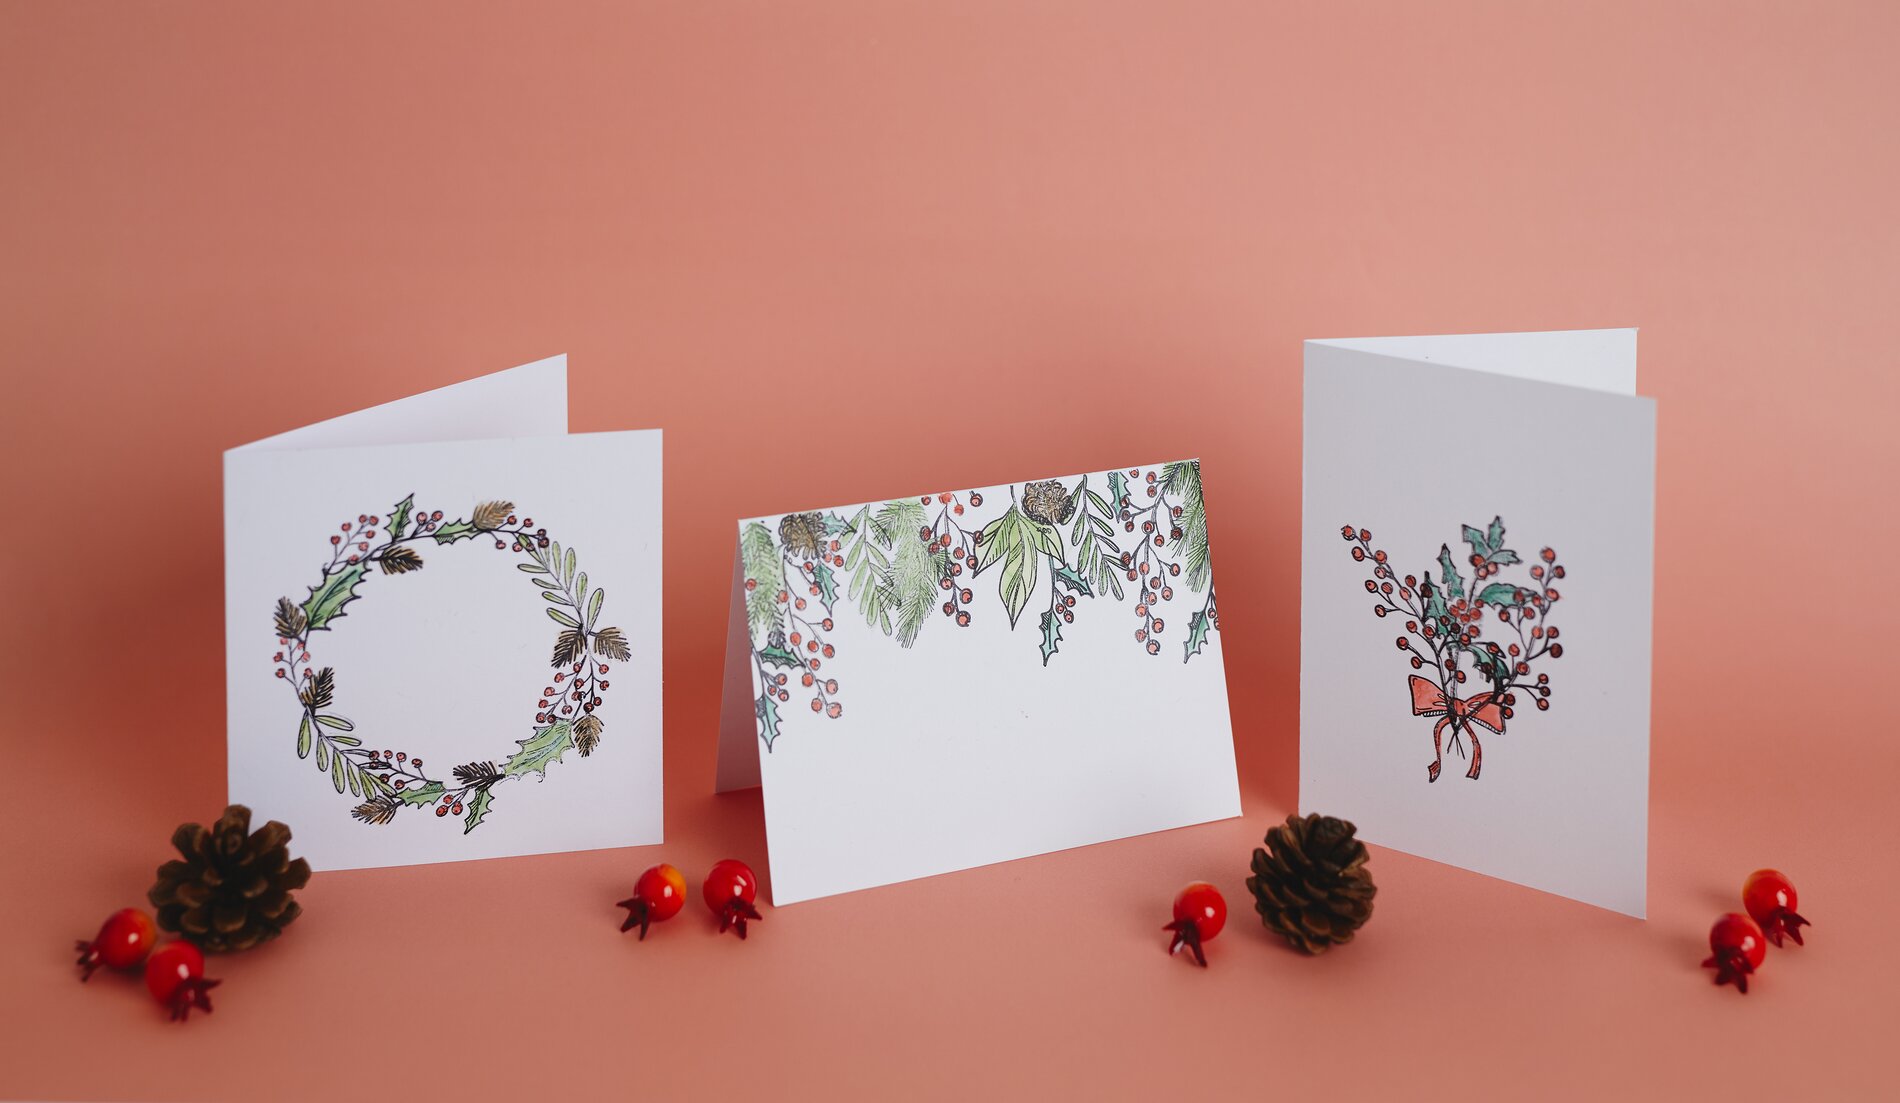
christmas cards Stamp and color with a watercolor effect. Get your fold-out cards ready and decide on the orientation: landscape looks especially nice for long garland motifs, portrait elegantly showcases a single branch, and square is perfect for wreath designs. This way, you can tailor the motif directly to the card layout and quickly achieve a harmonious result.
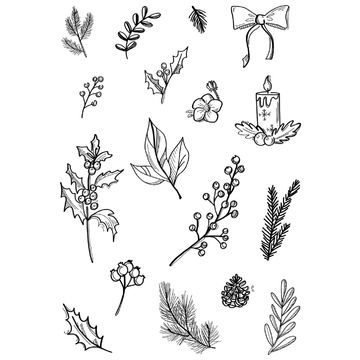
1) Mount the stamps and plan the design Press the silicone stamps individually onto a stamp holder. Silicone stamps adhere without glue and can be easily repositioned—ideal if you’re a beginner and want to work neatly. Briefly place the stamp on the card, without ink, and check the placement. For a wreath, intentionally leave a space in the center so there’s room for a name or Christmas greeting later.
2) Stamping with StazOn – for crisp outlines Take some stamp ink and dab it evenly onto the stamp. Place it on the card and press down with a steady, even pressure. This ensures clean lines and details. Lift the stamp straight up so nothing smudges. Let the impression dry thoroughly—this step ensures that the outlines remain crisp when you color them in later.
3) “Painting” designs with Oxide Ink – this creates the soft “ aquarelle-” look. For the watercolor effect, use water- ink pads s and work with them like paint: Dab a little pigment from the pad with a brush and add a touch of water. Apply the color.
4) Bring out details and create contrasts Let individual areas dry briefly, then apply a second, slightly darker layer in shadowed areas—for example, under leaves or at the bases of berries. This gives the Christmas motifs more depth without requiring you to “know how to paint.” Small accents, such as a darker dot on a berry or an emphasized leaf vein, instantly make the result look more polished.
5) Three Quick Layout Ideas for Beginners For a wreath card, stamp the wreath in the center and leave the center clear for lettering. For a garland card, stamp several sprigs as a border along the top edge of the card—this gives the card a modern look while still maintaining a classic Christmas feel. For a sprig card, place a bouquet in the center—this looks especially elegant.
6) Let it dry and finish the card Let the painted designs dry completely before closing the card or placing it in an envelope. This keeps everything clean and prevents smudges. Now you can add your Christmas greeting inside and, in less than one hour , you’ve created several harmonious, handmade christmas cards .
Looking for more card ideas? In our online shop, you’ll find the right folding card sizes, stamping supplies, and inks to start crafting your next christmas cards right away and further develop your own style.