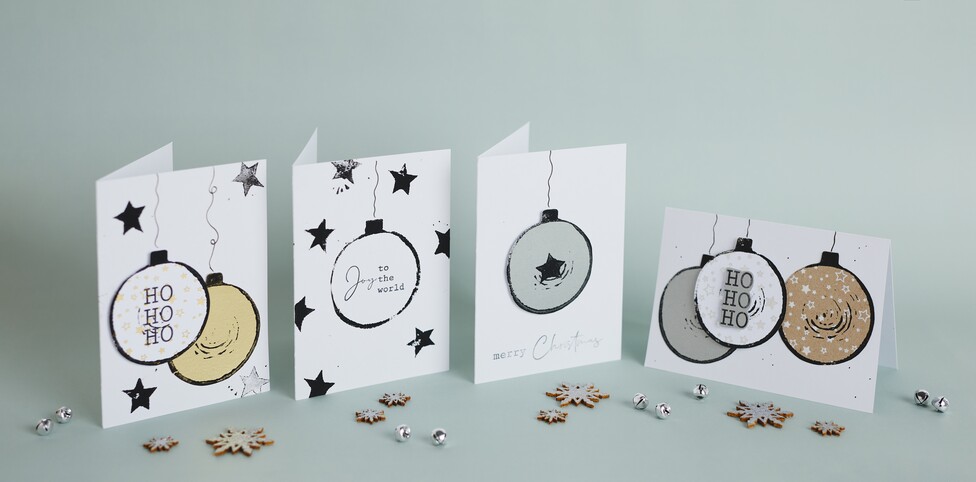
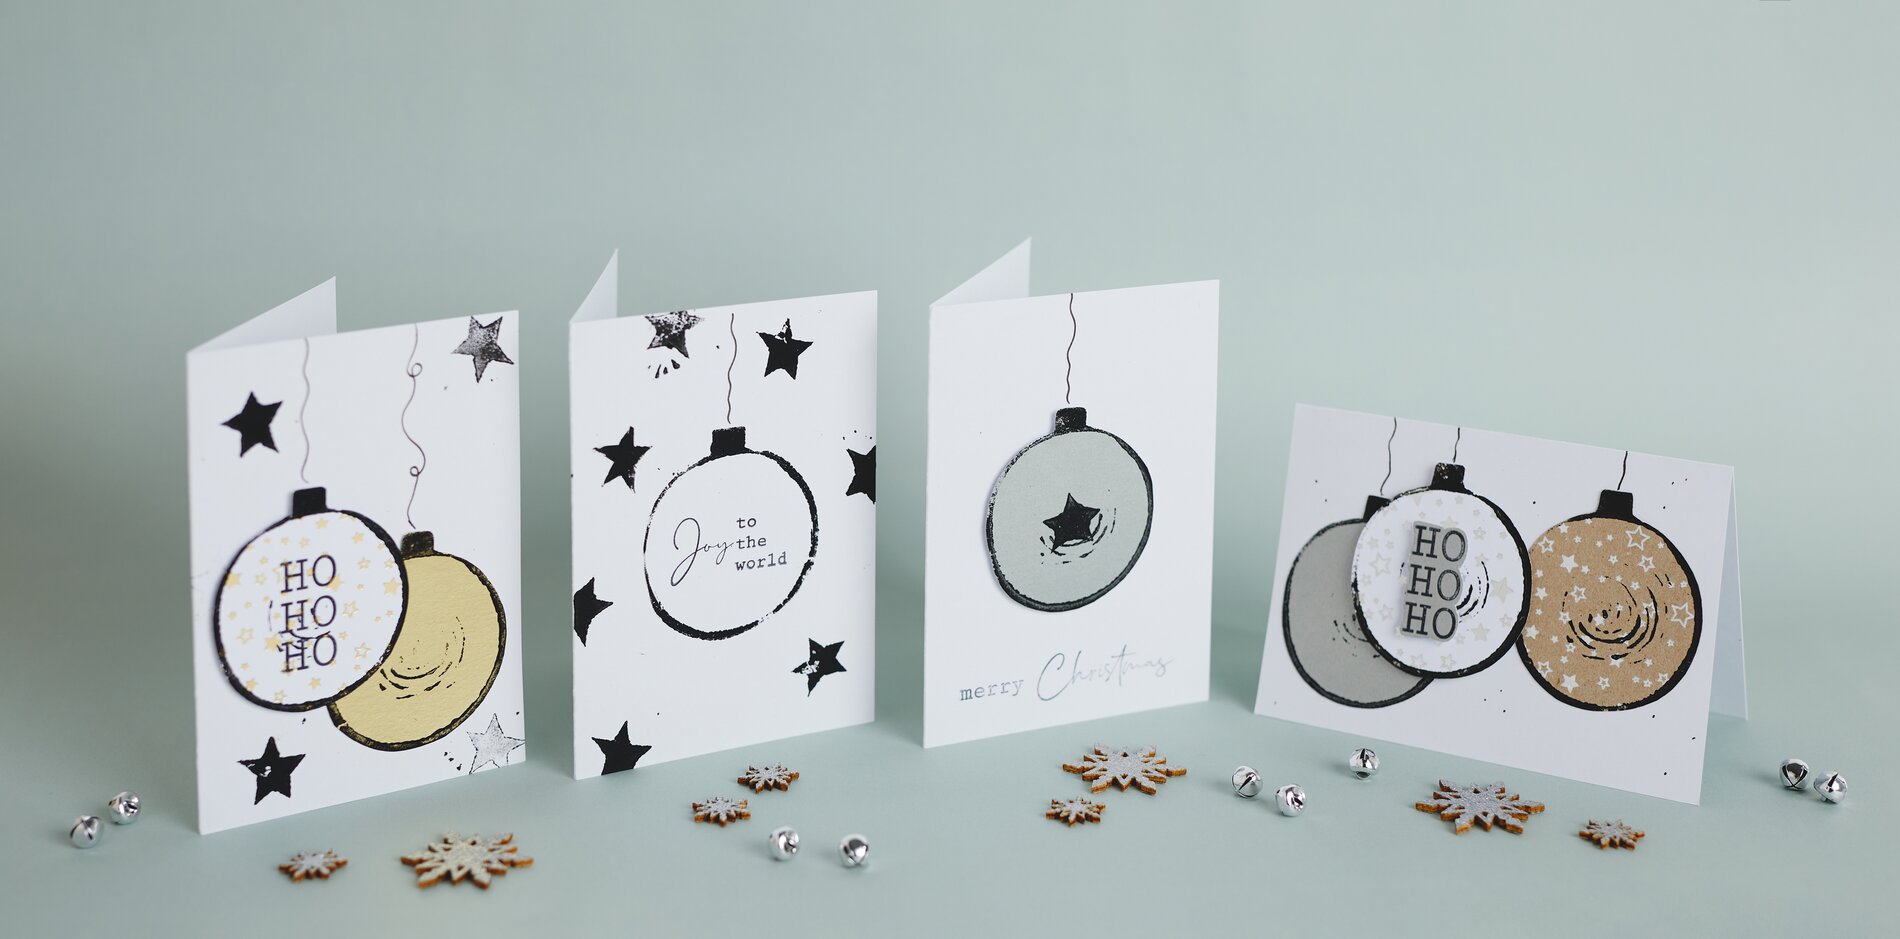
christmas cards Design with linoleum print
Pre-fold your blank cards if they’re still flat, and have a sheet of “ Paper ” paper ready for test prints. That way, you can test the stamp impression later without “wasting” your cards right away.
1) Choose a design and transfer it neatly
Choose a simple Christmas motif that works well as a linoleum print, such as a Christmas tree ornament, stars, or a short phrase. Draw the design with a pencil on vellum paper or print it out and trace it onto linoleum printing plate:. Place the vellum paper with the drawing facing down on the linoleum printing plate and rub firmly over it. The pressure transfers the pencil line onto the plate—giving you a clear template for carving.
2) Linocut: What remains is what gets printed
Take the carving knife and remove everything that you don’t want to appear in the final print. Important for beginners: In linoleum print , the raised areas that remain after carving are coated with ink and printed. Everything you carve away will remain white or the color of the paper. Work in small steps and rotate the linoleum printing plate, instead of maneuvering the knife at awkward angles. This ensures that curves, such as those on spheres, remain more even.
3) Applying ink: thinly, evenly, and with control
Pour some printing ink into a shallow saucer. Pick up the ink with the ink and stencil roller and roll it briefly on the saucer until the roller is evenly coated. Then roll it over the linoleum printing plate. with light pressure. A thin layer of ink ensures clear contours and prevents fine lines from “blurring.”
4) Make a test print and refine the design
Place the inked “ linoleum printing plate ” on scrap paper and make a test print. This will let you see immediately if any areas are still too dark or if any details are missing. If necessary, carve a little more, clean the plate briefly, and roll on more ink. This process of alternating between test prints and re-carving is the easiest way to achieve a clean linoleum print-result, especially if this is your first time working with Linol- & silkscreen .
5) Printing on christmas cards
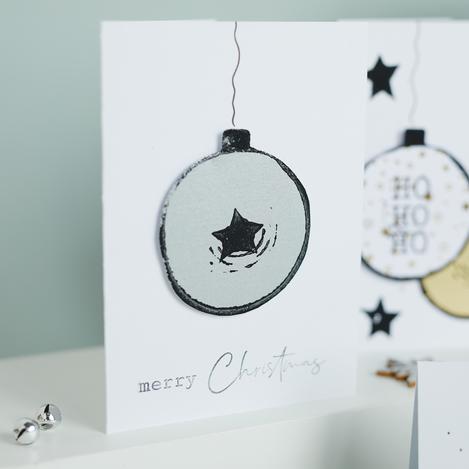
If you like the test print, print your design onto the blank cards or onto motif paper. Make sure to position the plate straight so the print doesn’t “shift.” For a lively, handmade look, the print can be slightly irregular—the important thing is that the main outline remains clearly legible.
6) Cut out designs from motif paper and glue them on as 3D elements
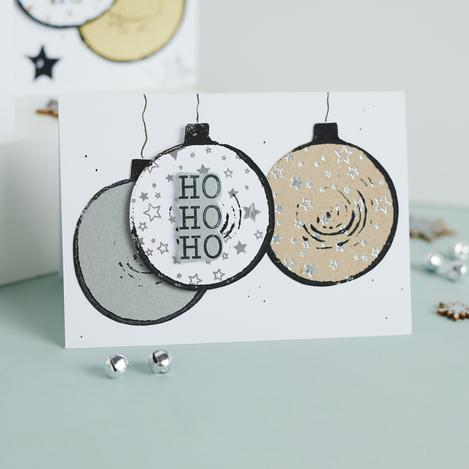
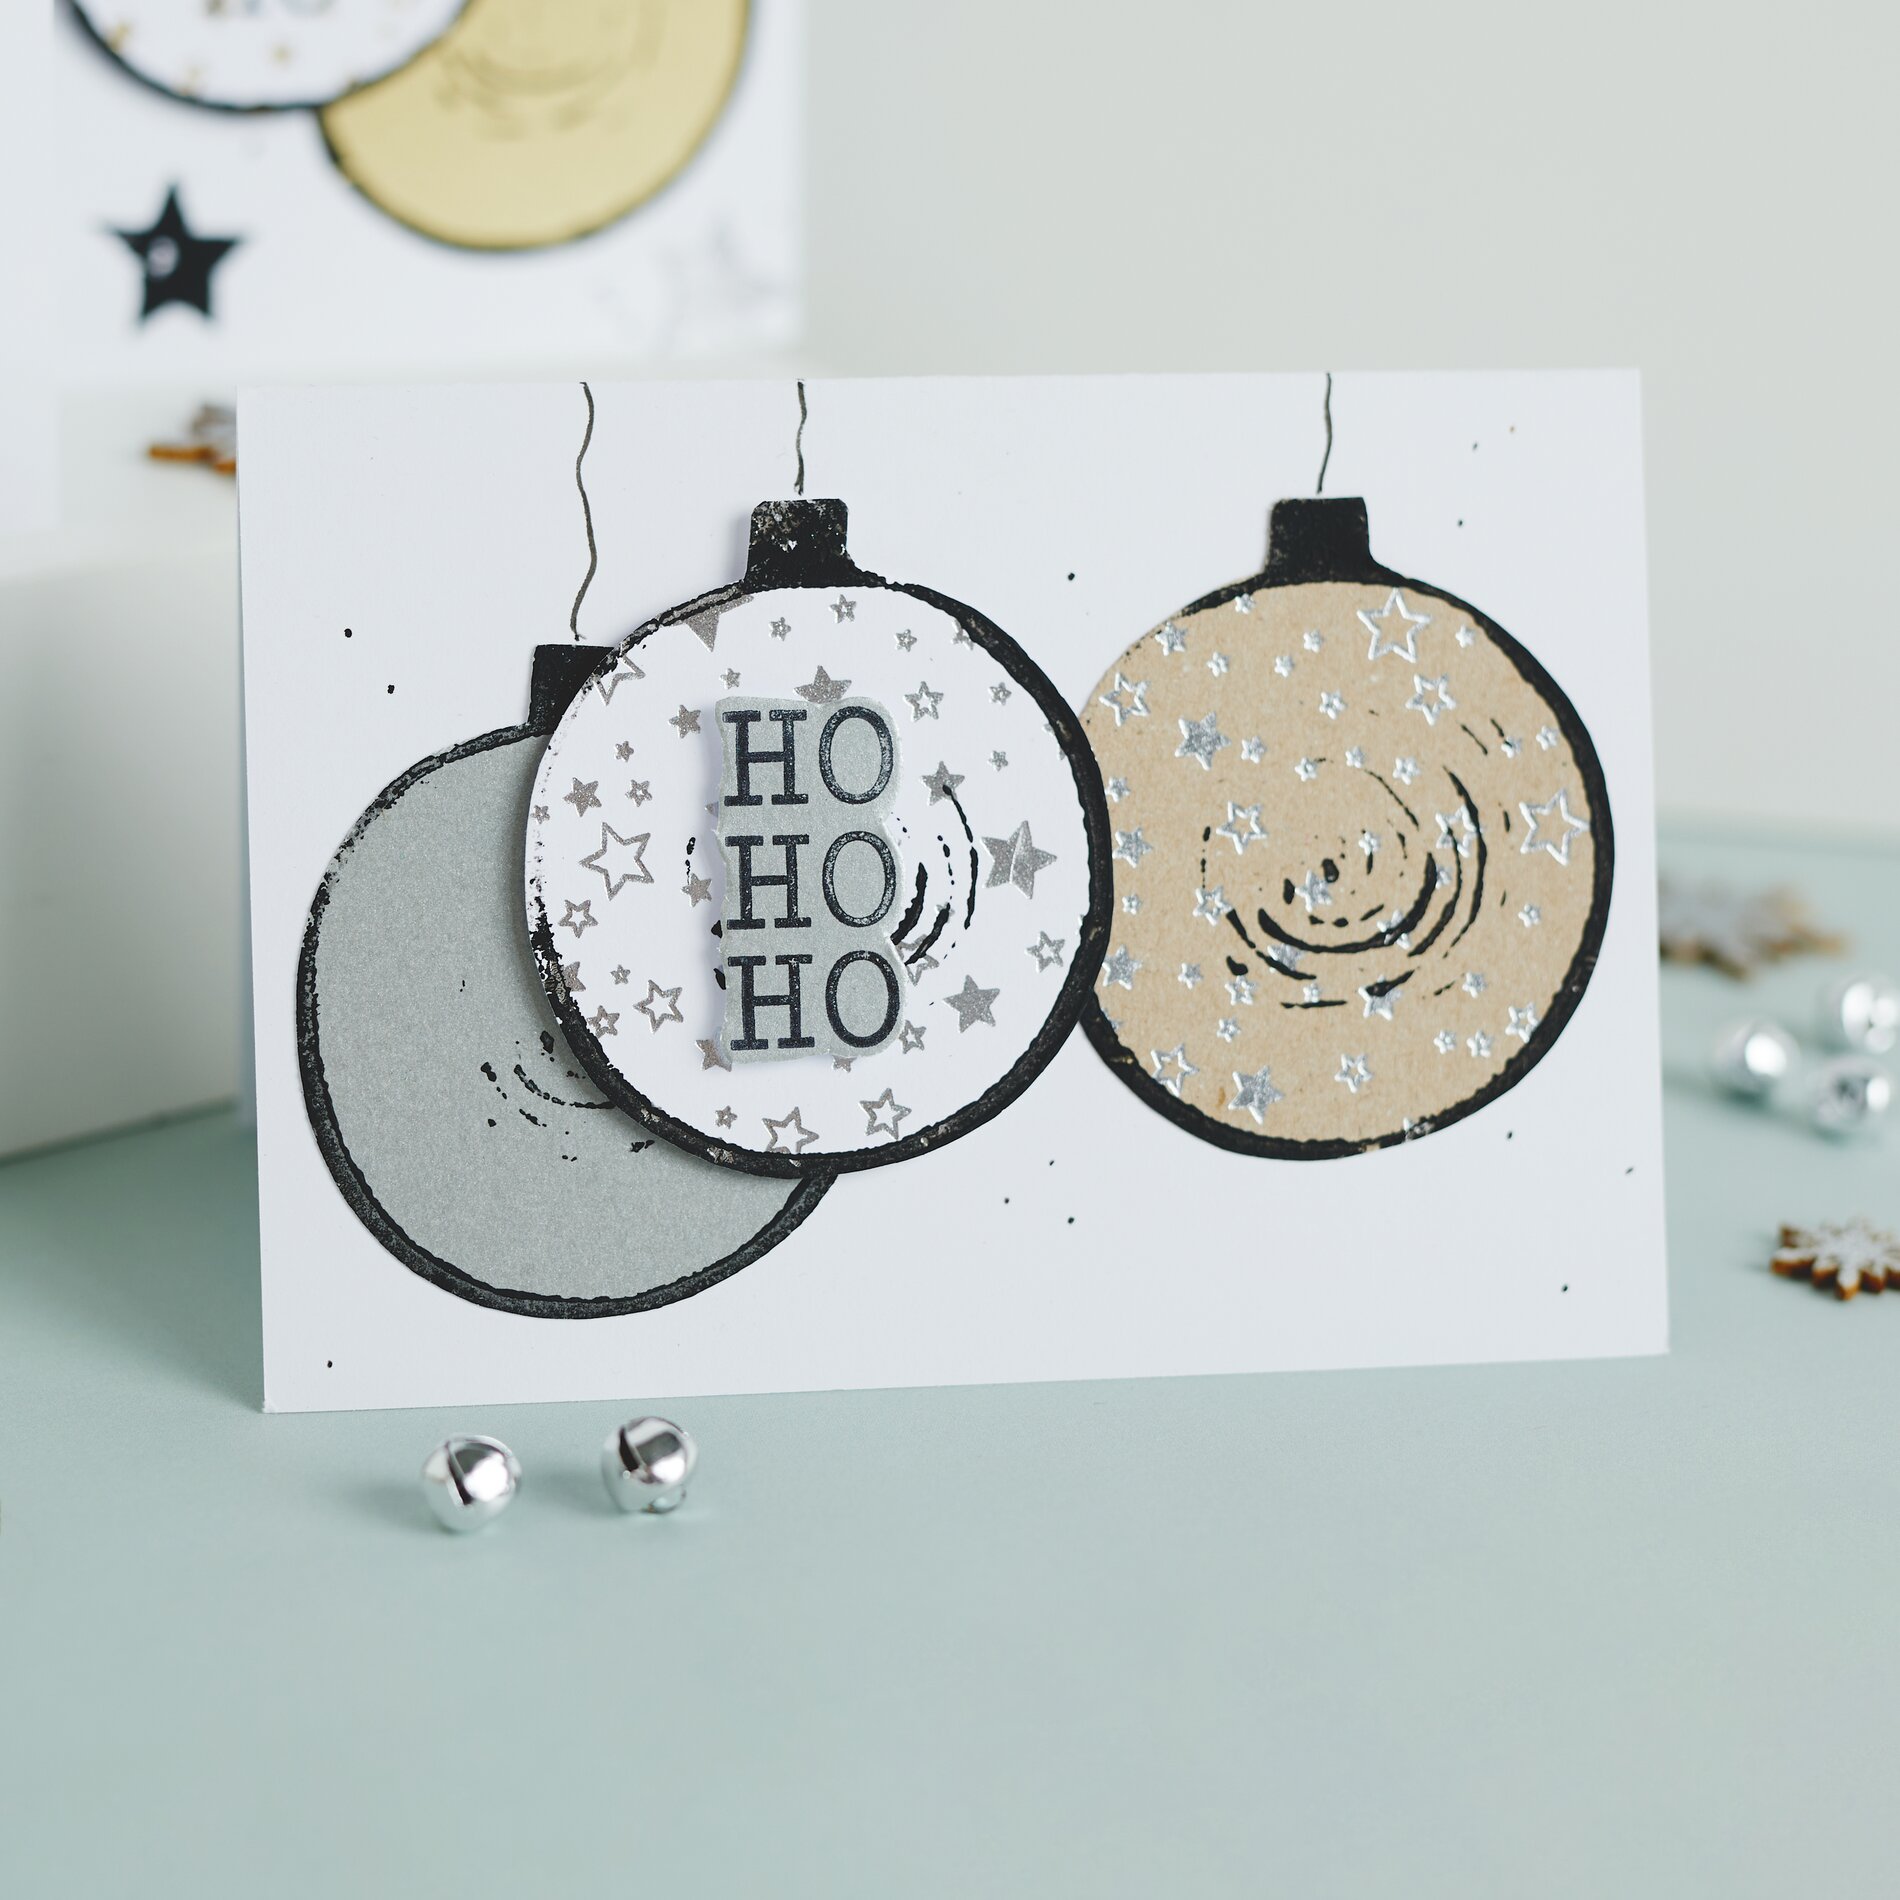
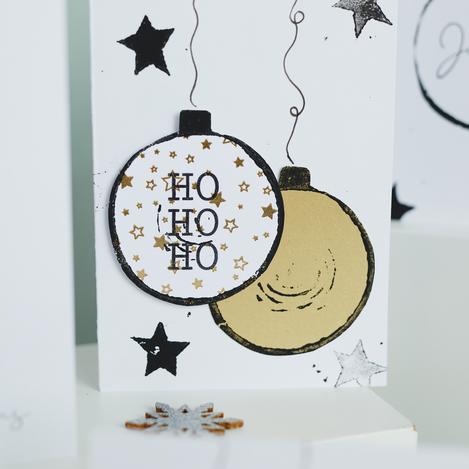
Print individual balls or stars on motif paper, then cut them out neatly and combine them with your card design. Use handicraft glue to glue them flat, and 3D-glue pads to add height. This quickly creates a Christmas card with depth that looks like a little paper crafting-project.
7) Add details and text
Add text to your card with a silicone stamp or a pen—short greetings look especially harmonious. Use the pen to draw delicate “ribbons” on the ornaments so they look like they’re hanging. A few extra stars or small accents around the motif make the design look more balanced, as they connect areas and guide the eye.
8) Let it dry and finish the cards
Let the ink dry completely before stacking the cards or putting them in envelopes. This ensures your linoleum print stays crisp and nothing smudges. If you’re making multiple cards, vary the placement of the balls or combine different designs—this saves time while still creating a personalized look.
Turn your favorite Christmas motif into a linocut and create a small series of “ christmas cards ” at linoleum print. You’ll find everything you need—from linoleum and printing supplies to matching papers—in the online shop.