Instructions No. 4043
Difficulty: Beginner
Working time: 1 hour 30 Minutes
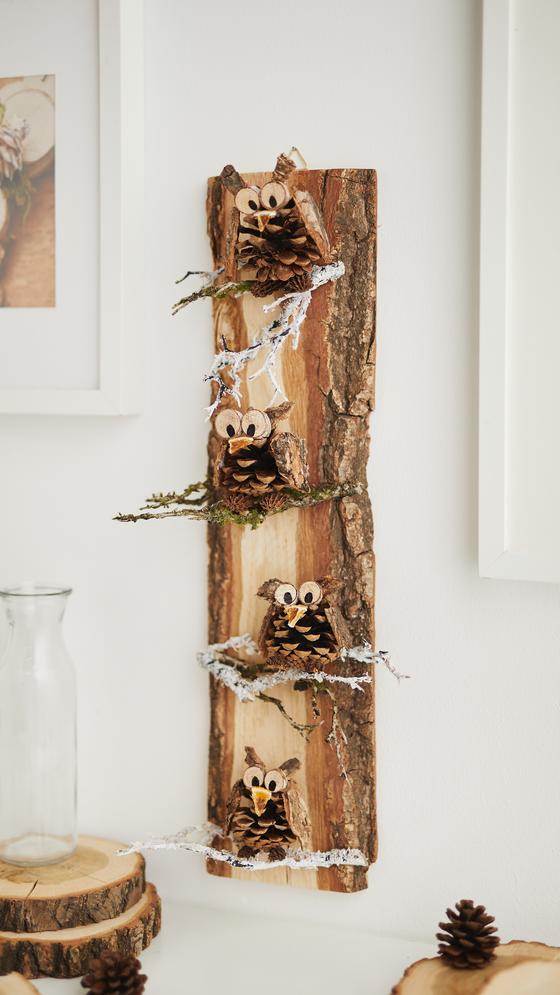
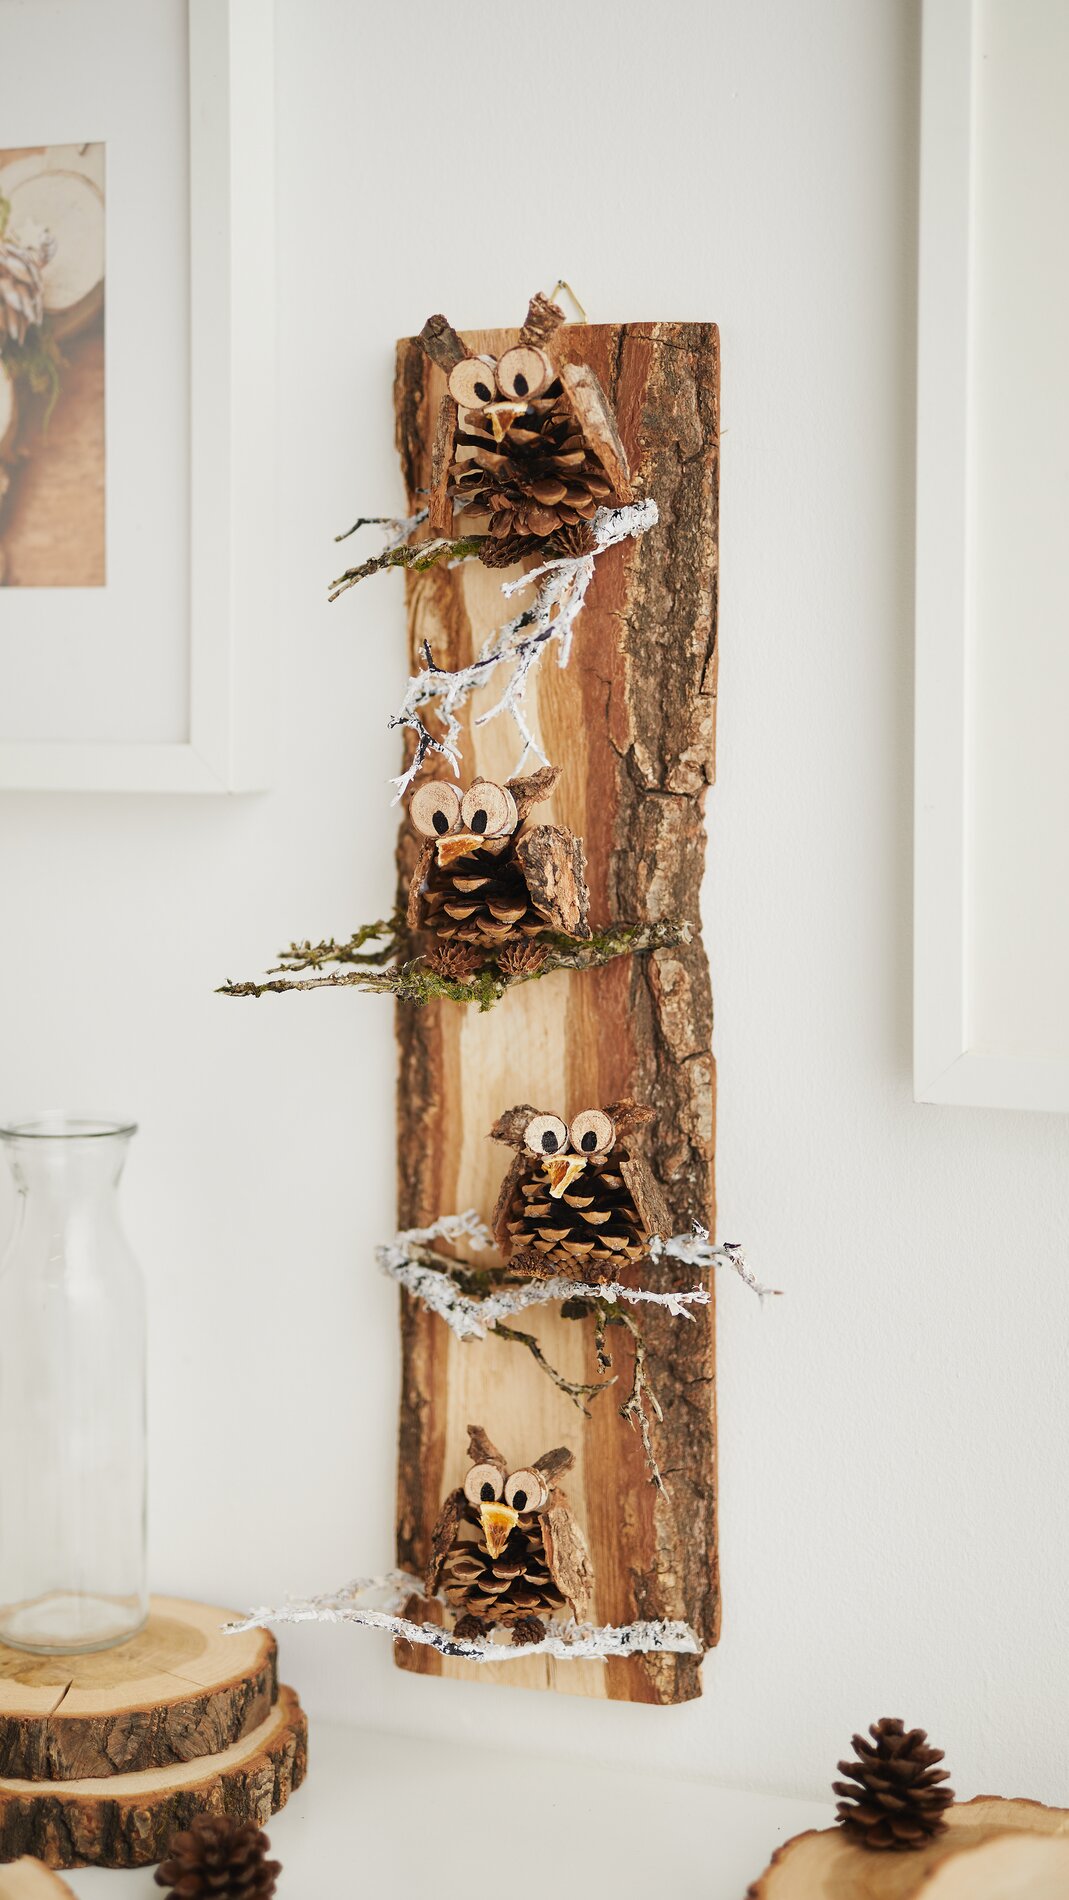
Planning Pinecone Owls on a Wooden Board
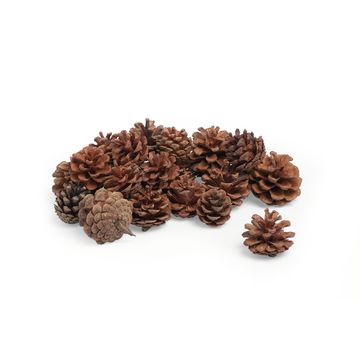
For your fall project, choose a sturdy wooden board as your base and arrange the pinecones on it to see how they look. This will give you a sense of size and proportions, allowing you to decide right away how many owls will look best in each spot. The pinecones form the body—their scales naturally create the characteristic feathered texture that gives them their natural look.
Designing the Owl’s Face
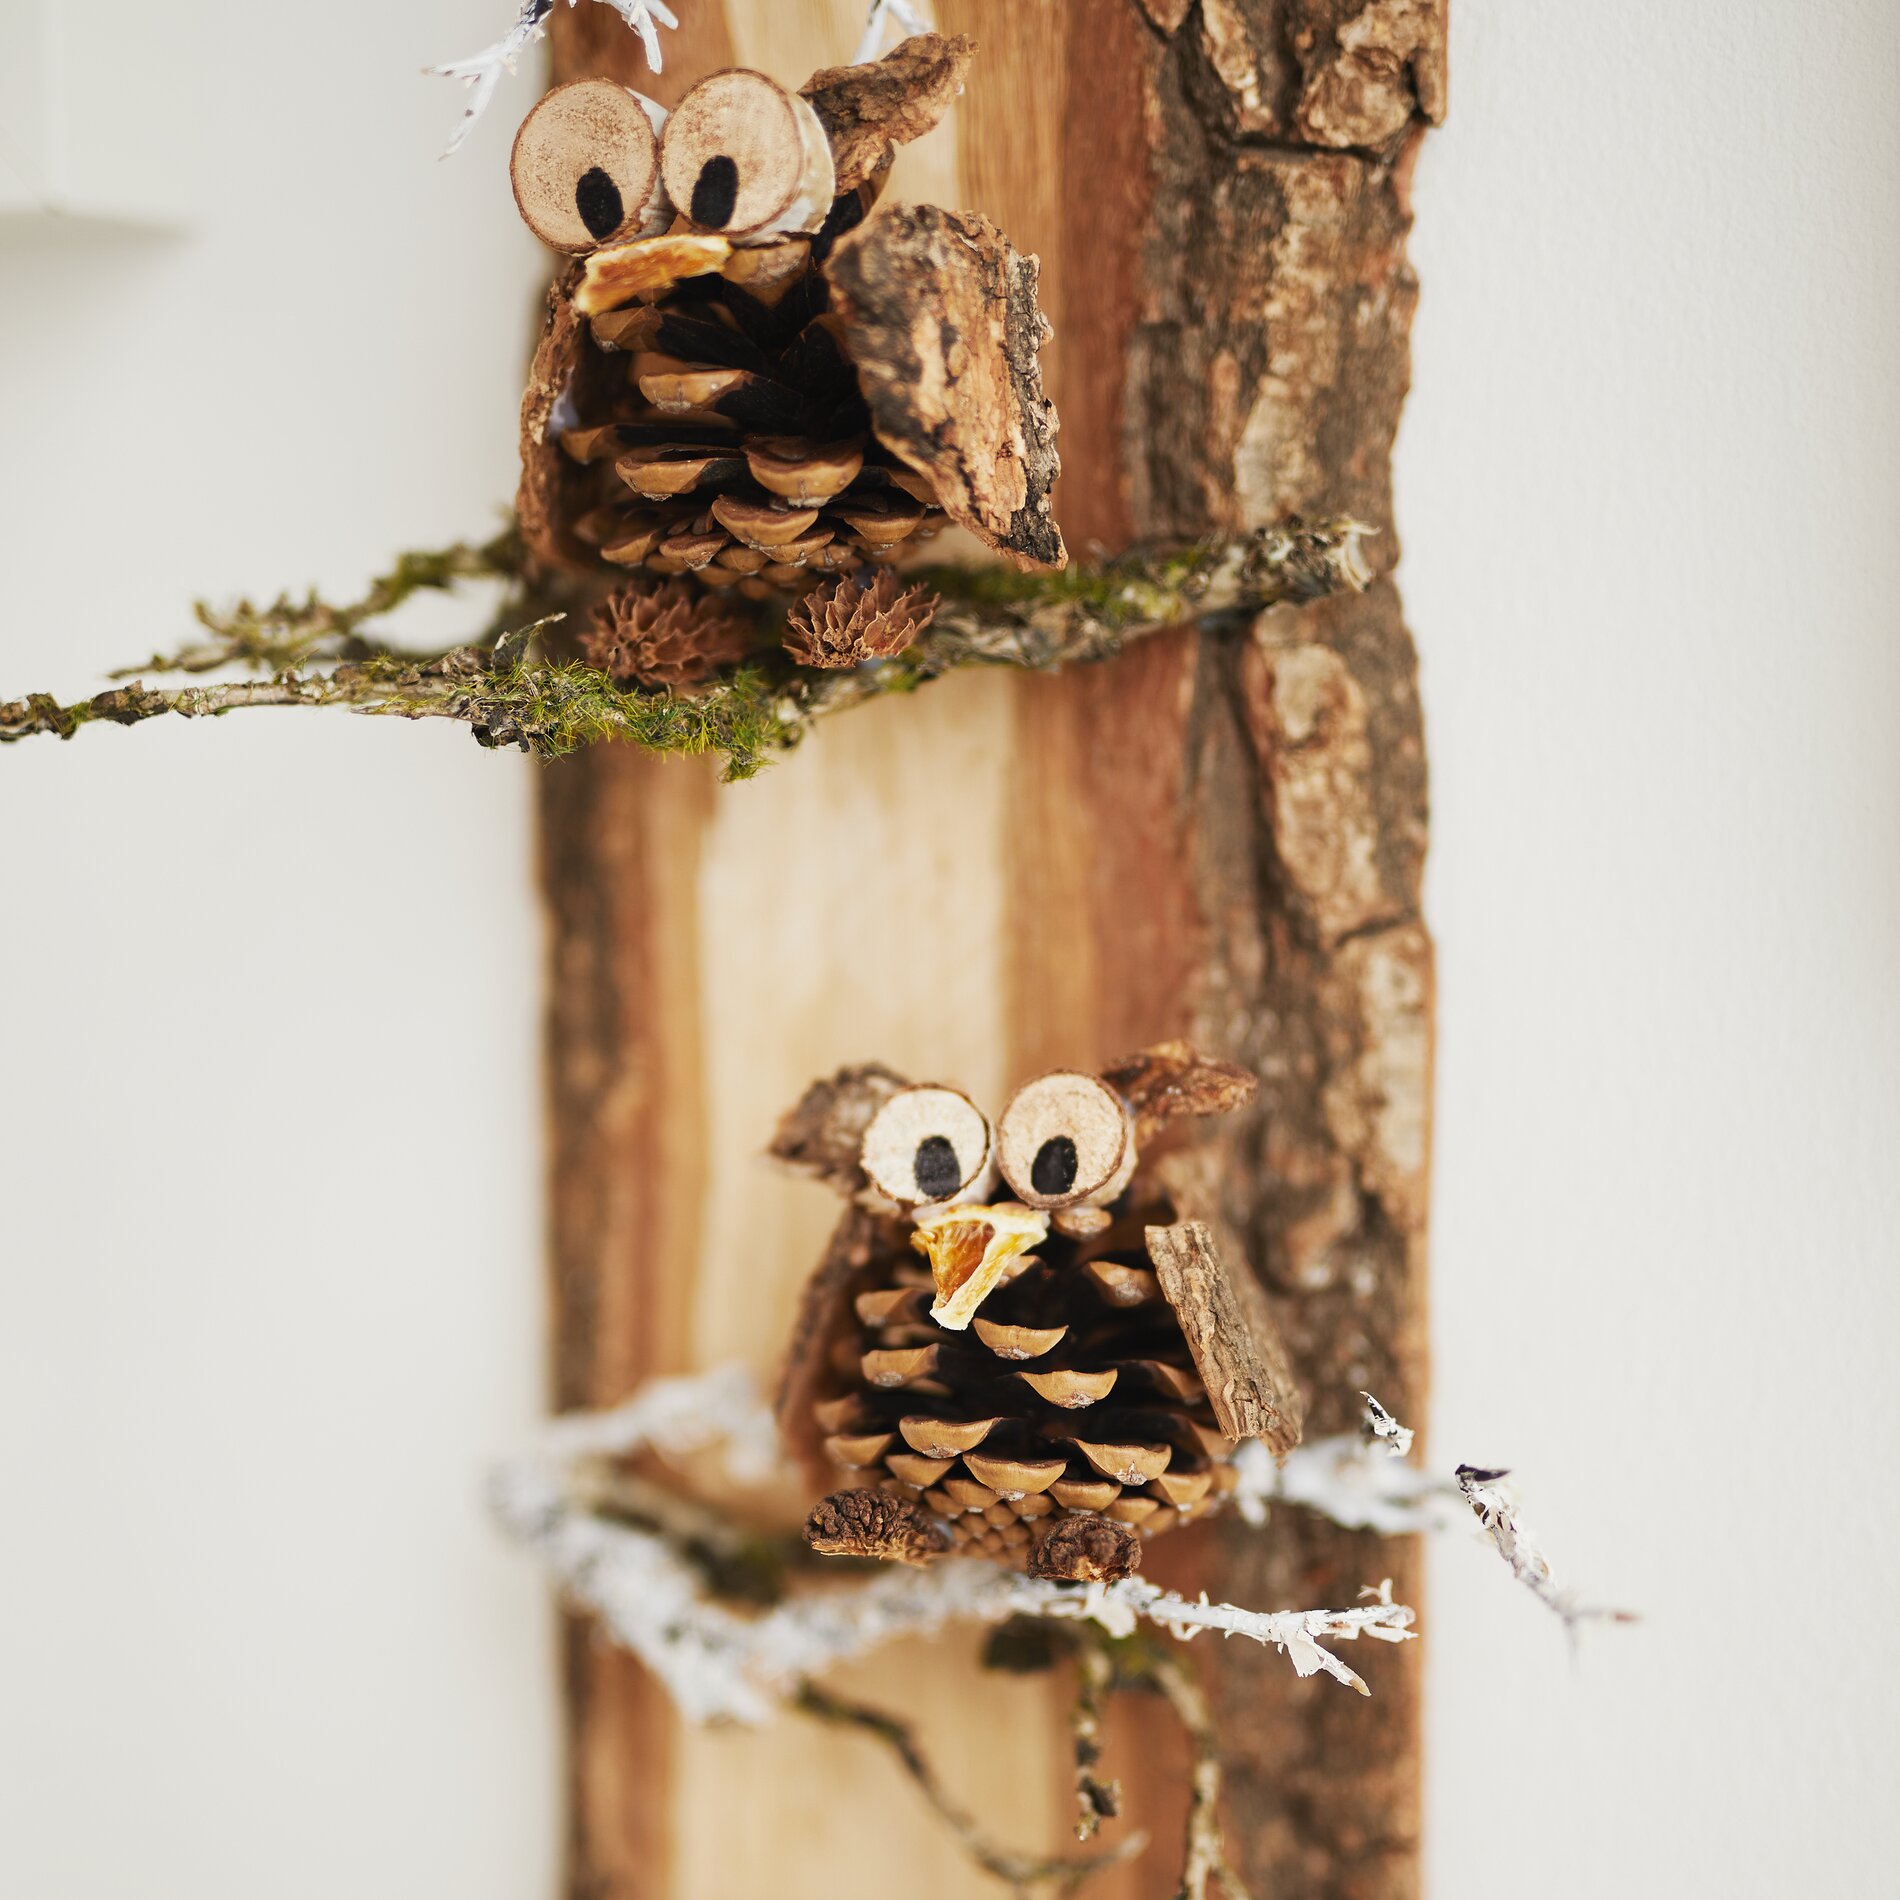
For the owl’s face, use two small tree slices as eyes. Draw a simple pupil on each slice with a black marker—make it deliberately clear and high-contrast so the eyes are easily recognizable even from a distance.
Then glue a small piece of tree bark behind each tree slice. These pieces of bark represent feathered brows or eyebrows and give the expression more character.
Now glue both eyes together side by side so that the face forms a single, solid unit.
For the beak, cut a small triangle out of a dried orange slice and attach it below the eyes.
Finally, glue the finished face onto a single pine cone scale. This support stabilizes the whole thing so that you can later attach the face to the pine cone neatly and without it slipping.
Attaching the Face to the Pinecone
Glue the pine cone scale with the face centered on the front of the pine cone. Press down briefly until everything holds. Make sure the beak points slightly downward—this makes the owl look balanced right away and gives the body a clear “front.”
Making Wings Out of Tree Bark
To make the wings, break the tree bark into pieces that roughly resemble wings in shape. A perfect shape isn’t necessary—irregular edges actually look more natural and are ideal for crafts with a natural look. If a piece doesn’t fit at all, you can carefully trim it with scissors. Then glue the wings to the left and right sides of the pinecone, slightly offset toward the back. This creates a beautiful silhouette without making the owl look too wide.
Attaching the Feet
Cut small casuarina cones in half lengthwise to create two “claw”-shaped pieces. Glue these to the bottom of the pinecone. The feet not only add a nice touch to the pinecone owl but also ensure that the owl “sits” on the branch or surface rather than appearing to float.
Placing Branches on the Board and Arranging the Owls
Now arrange the branches on the wooden board and glue them in place. Be sure to leave small “perches” so that each owl has its own space and the composition looks balanced.
Place the finished owls on the branches to test the arrangement, move them around until the spacing and heights are harmonious, and then glue them in place permanently. If you’re making several pinecone owls, it looks especially nice when their lines of sight vary slightly—this gives your “ nature-” decoration more life.
Final Touches and Durability
Check all the glued areas and gently press the bark, eyes, and feet into place once more. Let everything dry thoroughly before hanging the wooden board or displaying it as a decoration. This will ensure your autumnal nature decoration stays sturdy and retains its high-quality appearance for a long time.