- Secure order
- Easy return shipment
- Service-Hotline +49 4231 668980
Instructions No. 4106
Difficulty: Beginner
Working time: 3 Hours


How to Make a Paper Flower Garland for Christmas First, lay out your fir garland and quickly plan where to place the decorations. This will save you time later, because you’ll be able to arrange the paper flowers, leaves, and accessories harmoniously right away.
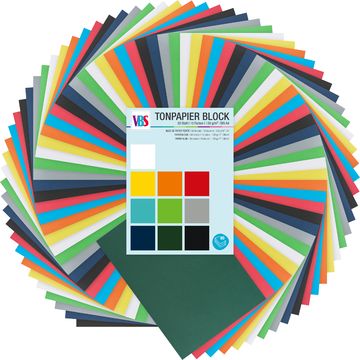
Step 1: Punch out hearts from coloured paper Use a heart punch to cut out several hearts from coloured paper in various shades of red. The coloured paper-paper, with a weight of 120 g/m², is ideal for this: sturdy enough to shape, yet still easy to glue.
Step 2: Glue the flower wreath and shape the flower. Glue the red hearts together in a ring to form a circle, creating a round flower base. Then fold the “petals” of the hearts slightly upward. This small step makes all the difference: it gives the paper flower a petal-like, slightly 3D appearance instead of looking flat.
Step 3: Build the center of the flower Glue additional hearts to the center to create the flower’s core. This makes the paper flower look fuller and gives the center a defined shape that will later frame the ornament visually.
Step 4: Use a Christmas ornament as an eye-catcher Place a small red Christmas ornament in the center of the flower and glue it securely in place. The shiny surface provides an elegant contrast to the matte coloured paper and ensures that the flowers on the Christmas garland immediately catch the eye.
Step 5: Make holly leaves from “ coloured paper ” Cut out the leaves-stencil from Paper and trace them onto dark green coloured paper. Cut out the shapes neatly. Dark green has a particularly festive look and makes the red paper flowers shine even more brightly. If you bend the tips of the leaves slightly upward, it creates even more volume.
Step 6: Place the paper flowers and leaves on the garland Arrange the paper flowers and green leaves along the garland. Secure them with hot glue. Hot glue works especially well here because it sets quickly and adheres reliably even to uneven, natural surfaces. Work section by section to ensure nothing slips and the garland remains even.
Step 7: Decoratively fill in the gaps Fill in the gaps as you like with small christmas balls, red berries, jingles , and dried orange slices. This mix gives your DIY christmas decoration texture: shiny (balls), dotted (berries), playful (jingles), and natural (orange slices). Make sure the elements are repeated to create a calm overall look.
Your next step: If you need even more coloured paper in coordinating red- and shades of green for additional paper flowers, tags, or table decorations, you’ll find a large Selection in our online shop for your Christmas craft ideas.