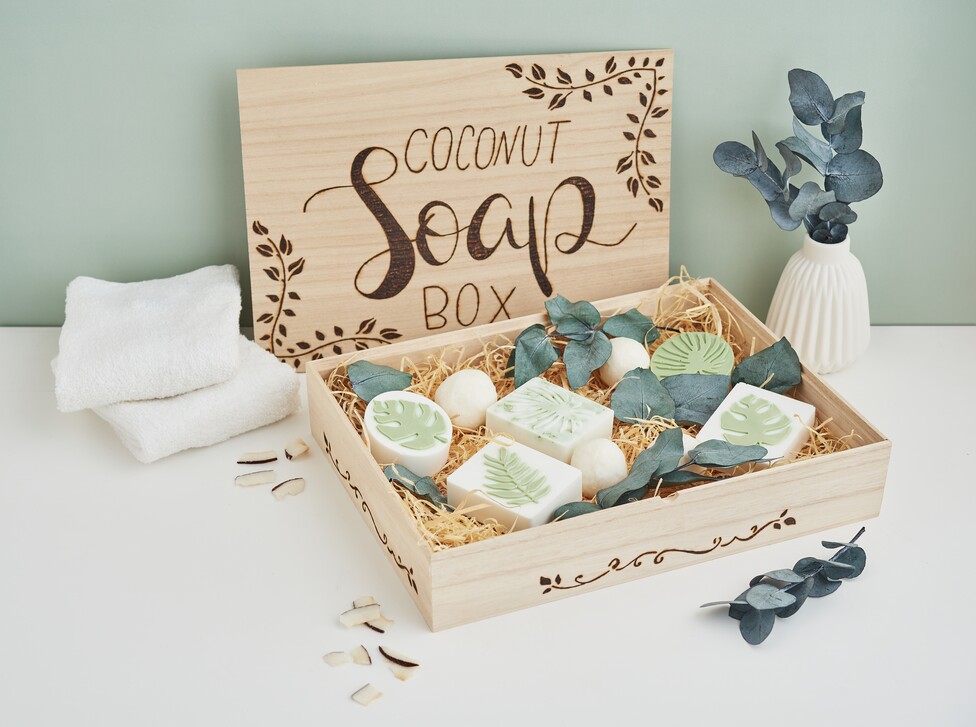
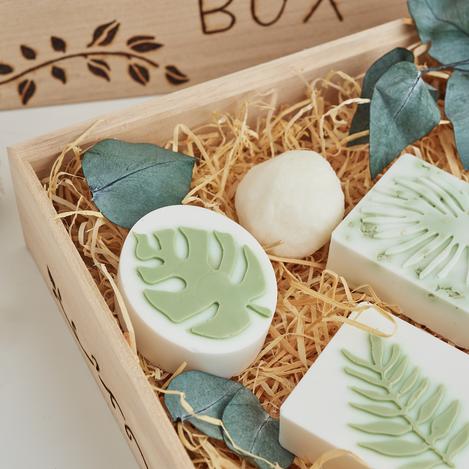
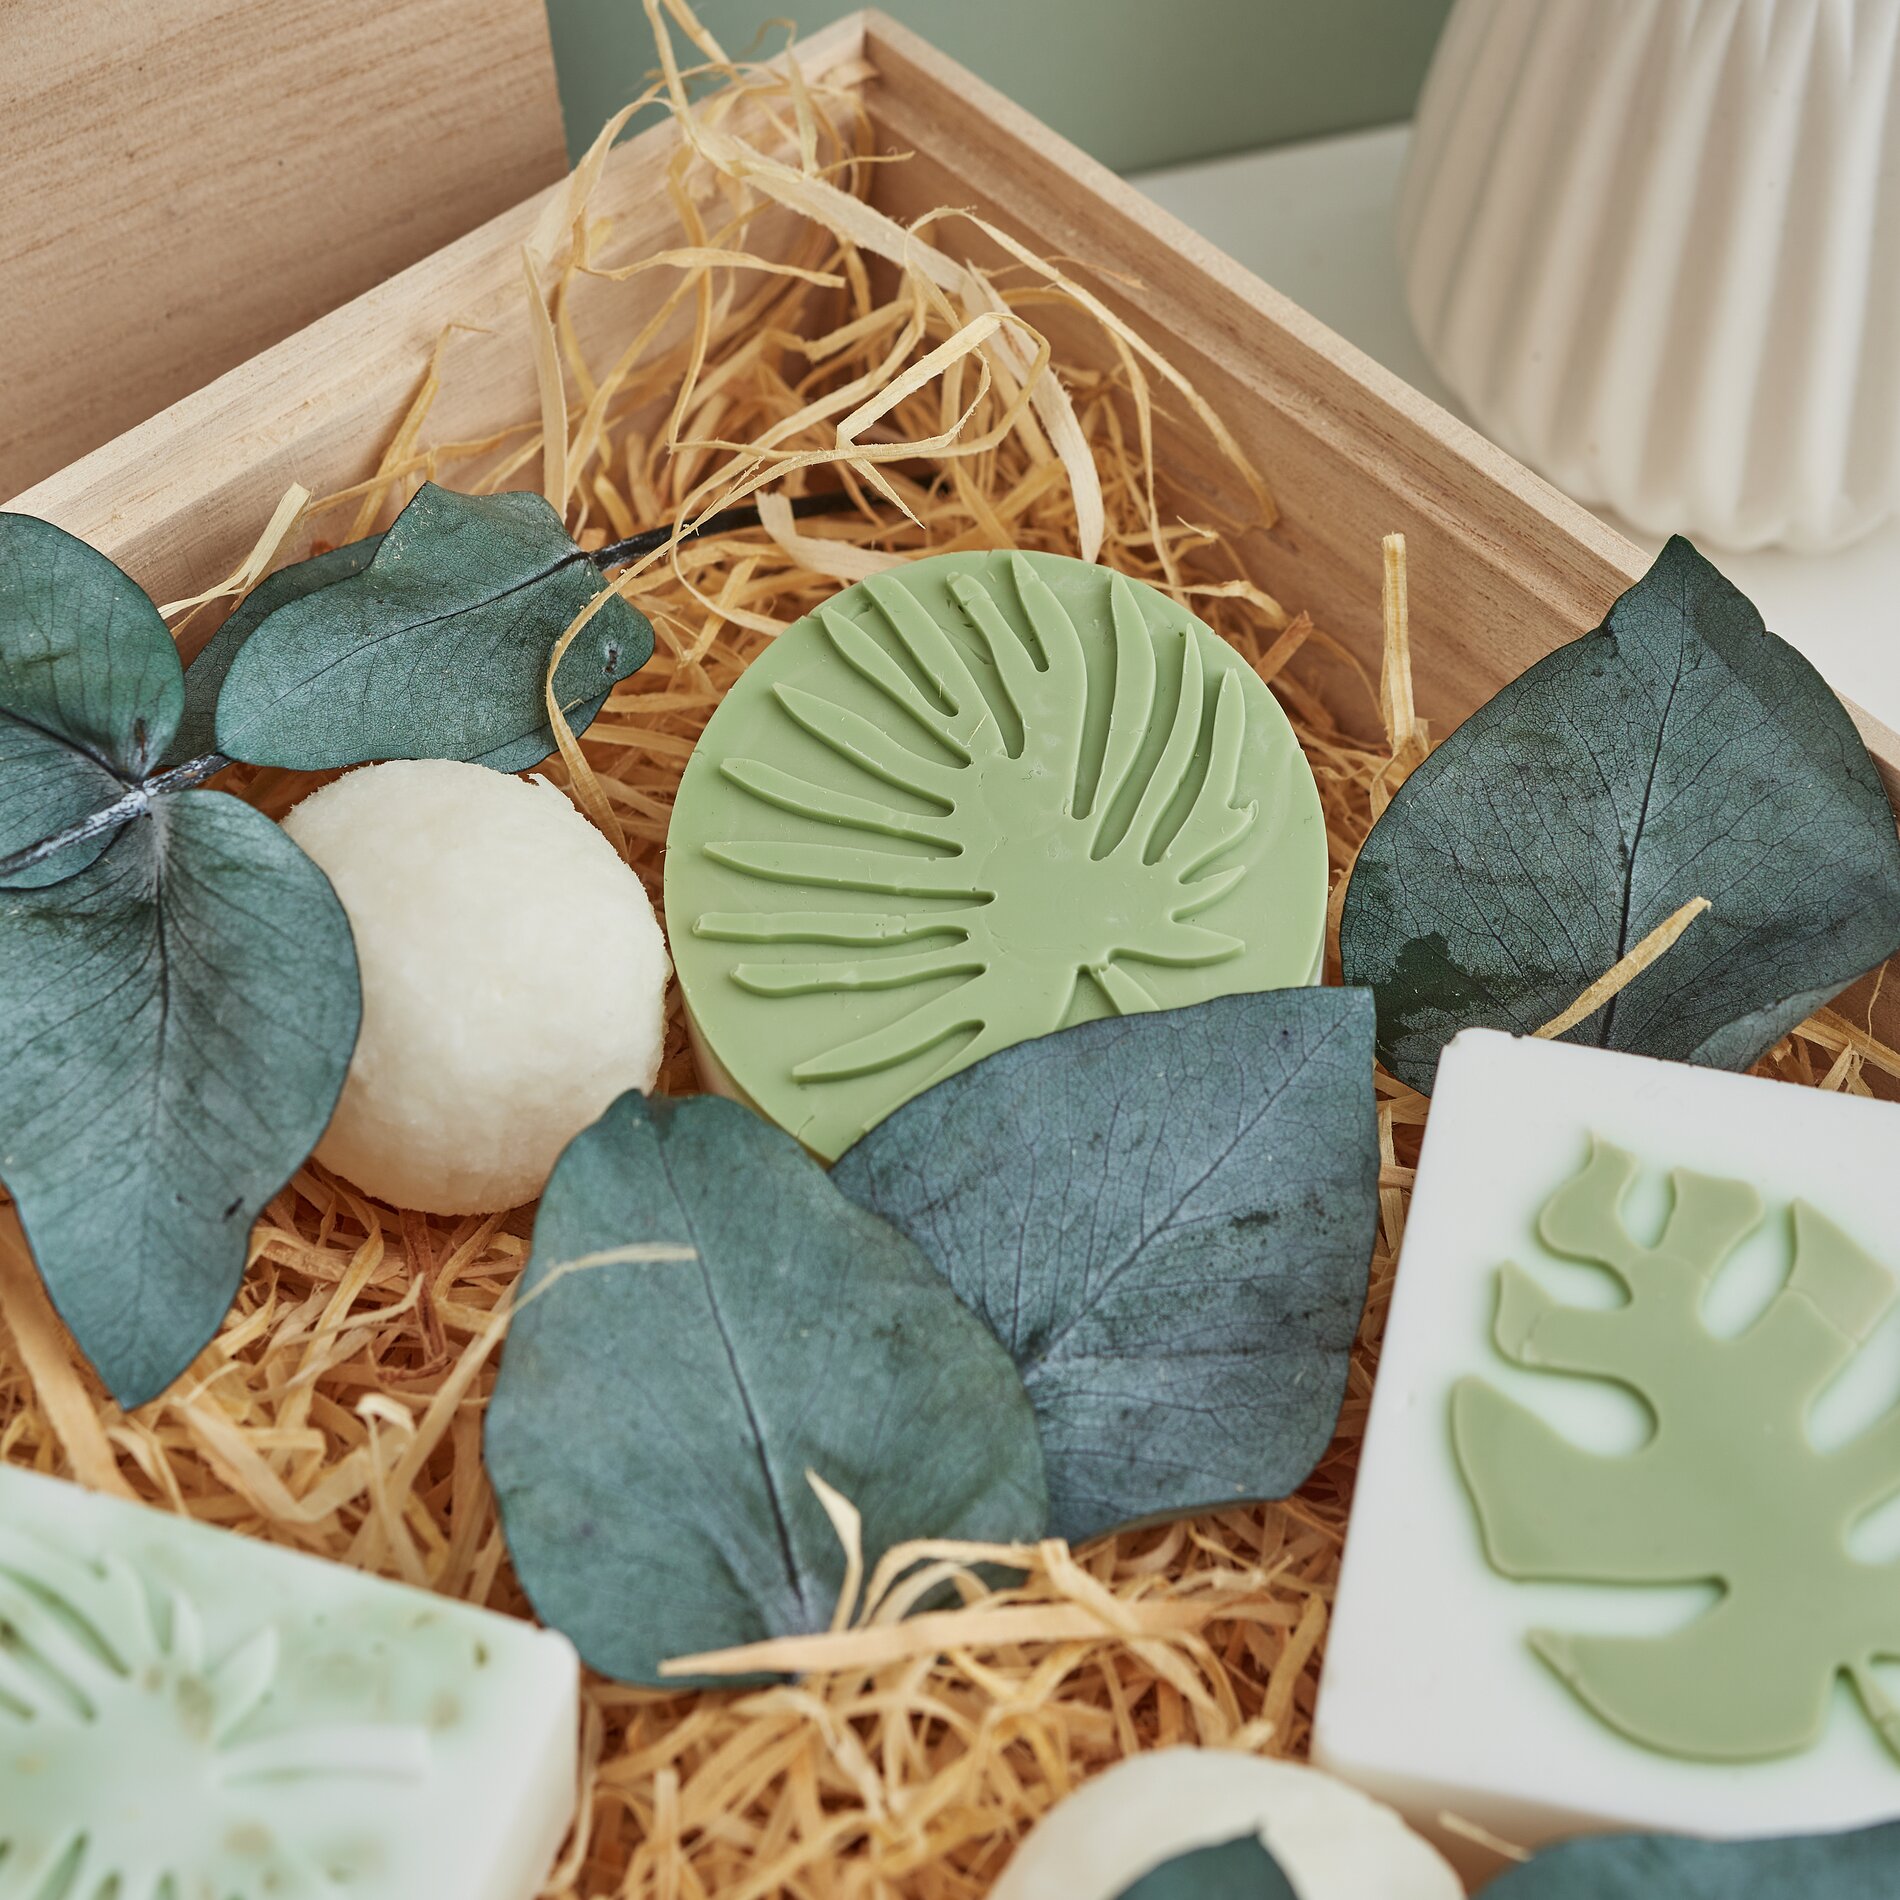
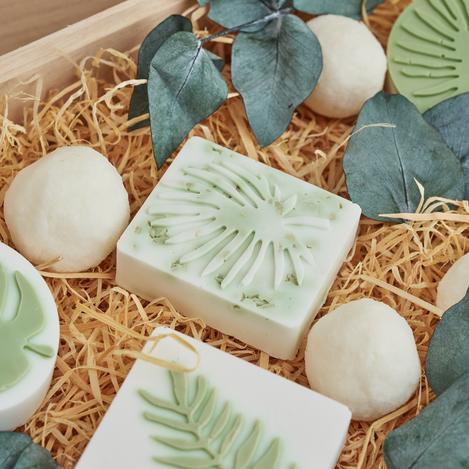
Design a Wooden Box with “ wooden burning ” Print out the design template and place it on the lid of the wooden box. Place graph paper between the two and trace the lines with a pencil. This allows you to transfer the design neatly onto the wood without having to draw it freehand. Next, place a stencil with curving vines in the desired spot. Fill in the open spaces with a pencil. Filling in the spaces ensures that you’ll clearly see the outlines later when burning and that you’ll achieve smooth curves. Now it’s time for the wooden burning:. Heat up the pyrography pen and slowly trace the pre-drawn lines. Work with a steady hand and light pressure so that the lines turn an even dark color and the wood doesn’t fray. If you’d like to decorate the bottom of the box as well, repeat the tracing process using the stencil and then burn in the details. Soap Making: Palm Leaf Soap from silicone mould Gently melt a small amount of soap base and stir in some coconut oil. Coconut oil usually makes the soap a bit more nourishing and can give the surface a more pleasant feel. Once everything is liquid, color the mixture as desired with soap colour and add fragrance oil. Stir thoroughly so that the color and scent are evenly distributed. To ensure the palm leaves stand out in color later, use a pipette to draw up some of the hot soap mixture. Carefully fill the leaf sections of the silicone soap mold with it. This precise filling is the trick to keeping the contours clear and visually emphasizing the leaf structure. For a green “top” effect, next pour a thin layer of green soap into the mold so that the bottom is completely covered. The thin layer helps prevent the color from becoming too heavy and ensures a clean transition to the light-colored soap mixture later on. To create small green pieces in the soap, pour an even thinner layer of green soap into one of the molds. It doesn’t have to be even. Let this mini layer harden, remove it from the mold, break it into small pieces, and place the pieces back into the palm leaf mold. This creates a lively look with inclusions without needing any additional decoration. Now melt white liquid soap, stir in a little coconut oil again, and add fragrance oil to taste. Fill the molds to the brim. Let the soaps harden completely so they don’t crack when you remove them from the silicone mould and the edges stay nice and smooth. Then you can carefully unmold the soaps. Making Soap Balls Mix soap flakes with oil, shea butter, and fragrance according to the package instructions to form a moldable mixture. The combination of flakes and nourishing oils ensures that the balls become firm as they dry and feel pleasant to the touch later on. Shape the mixture into uniform balls and place them on a smooth surface to dry. Allow several days for the soap balls to harden thoroughly. This makes them less fragile later on and ensures they retain their shape even inside the gift box. Finishing the Gift Set Line the wooden box with a little wood wool and place the cast palm leaf soaps and soap balls inside. Leave small gaps between them so the surfaces don’t rub against each other and the arrangement looks neat. If you plan to give the soaps as gifts, let them air out thoroughly before packaging so the scent can settle nicely. You’ll find everything you need for soap making— wooden burning , and matching molds—in our online shop. Simply put together your kit there and get started on your next DIY-project.