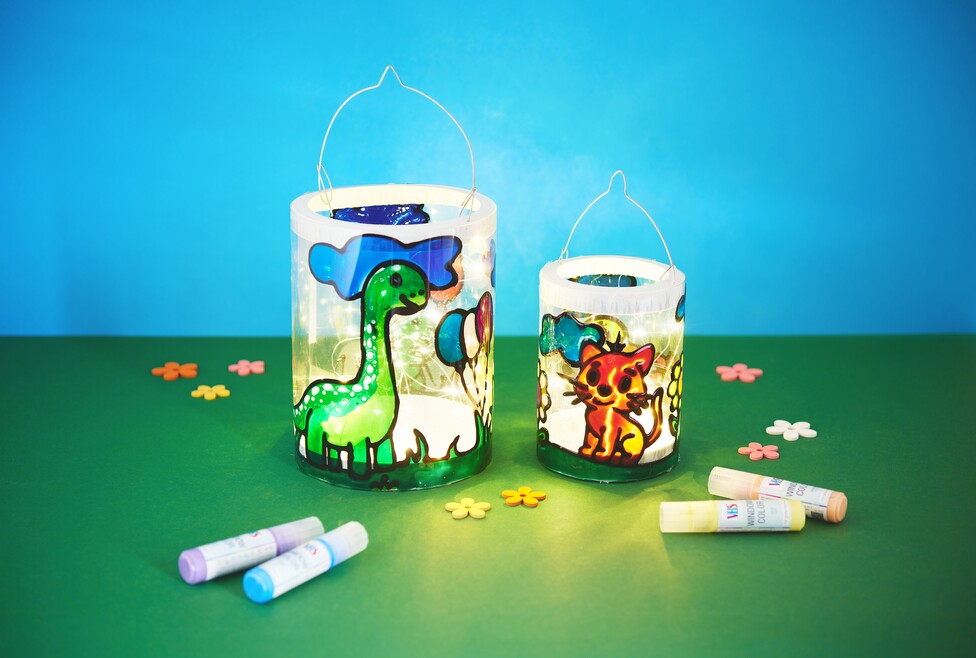
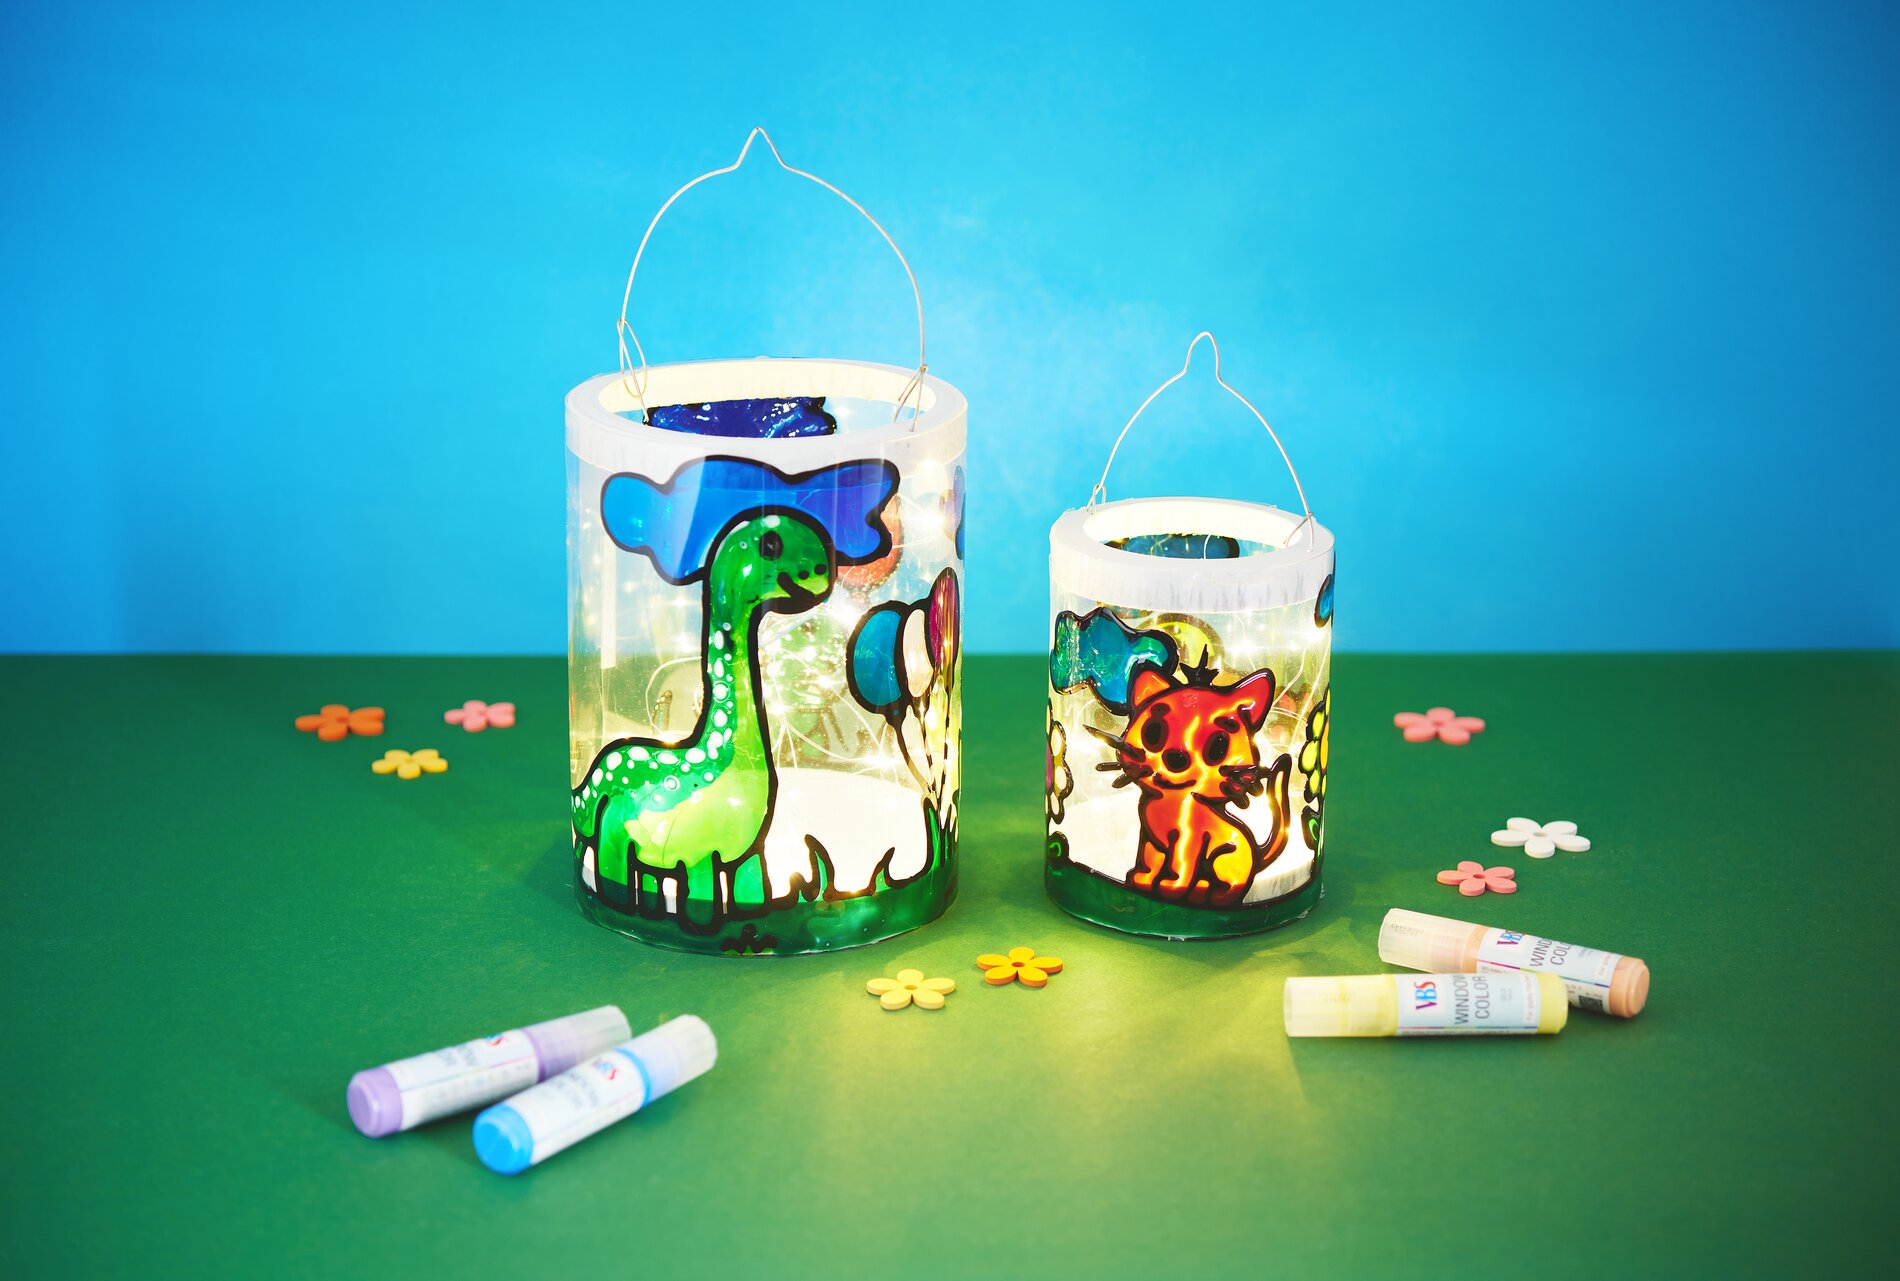
To make this fall lantern for the lantern parade, you'll be working with Window Color on windmill foil. Window Color This is a thick, viscous window paint that creates a slightly raised effect once dry, resulting in crisp outlines and vibrant areas—perfect for kids’ crafts and for designs that will later be lit from the inside.
1) Cut the pinwheel foil to size and determine the lantern’s dimensions
First, decide whether you want to make a small or large lantern. For the small version, cut the pinwheel foil to about 35 cm in length and 15 cm in height. For the large lantern, a piece measuring about 50 cm in length and 20 cm in height works well. The cut determines the lantern’s shape: the length will later become the circumference, and the height will become the lantern’s height. Cut neatly so that the edge fits snugly against the bottom and lid later.
2) Place the template and trace the outlines
Print out our design template and place it under the cut-to-size windmill foil. Trace all the lines with the black Window Color outline paint. This outline is important because it acts like a “fence”: it prevents the colored areas from blending later and gives the design stability. Let the outline dry completely before continuing.
3) Color in the designs
Now you can color in the designs however you like. For a lantern, bold colors look especially beautiful because the light will shine through later. Color in the areas so that no gaps remain, but don’t overfill them—even layers dry better and look neater. If children are helping with the project, it helps to fill in larger areas first and add small details at the end.
4) Let it dry (important for clean results)
Let the painted pinwheel foil dry for at least 24 hours. This step ensures that the Window Color is fully cured.
5) Shape the foil into a lantern
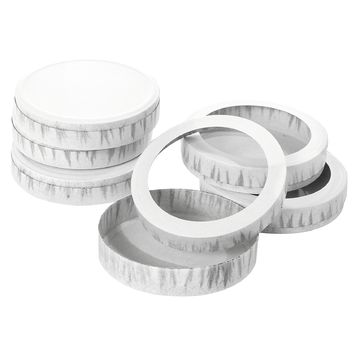
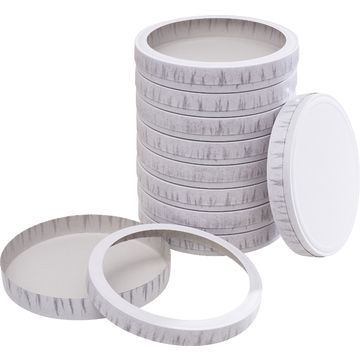
Carefully roll the pinwheel foil into a lantern until the edges meet neatly. Then secure the foil to the lantern base and lid with hot glue. Work section by section: This ensures the foil lies flat and you end up with a sturdy lantern body. Make sure the glue doesn’t run onto the visible surface so the designs remain clear later.
6) Insert the wire handle
Thread the wire through the lid to form a sturdy carrying handle. If the lantern handle is too long, trim it to the appropriate length with wire cutters. Trimming it is important so that nothing sticks out and the lantern can be carried comfortably and safely later on.
7) Insert the Micro-LED-chain of light
Finally, place a Micro-LED-chain of light inside the lantern. LEDs barely get warm, making them ideal for lantern parades with children. Arrange the lights so they don’t just sit on the bottom but gently illuminate the entire lantern body—this makes the Window Color outlines and colored areas look especially vibrant.
8) Final Touches for the Lantern Parade
Check to make sure the base, lid, and foil are securely fastened all around. If you’d like, add small details such as extra pops of color or simple patterns to the empty spaces—this will make every Window-Color lantern one-of-a-kind. Then your fall lantern is ready for the lantern parade.
Now it’s your turn: Browse the online shop for Window Color, windmill foil, LED-chains of lights , and matching accessories so you can bring your lantern idea to life right away.