- Secure order
- Easy return shipment
- Service-Hotline +49 4231 668980
Instructions No. 4009
Difficulty: Beginner
Working time: 1 hour
VBS Silicone Soap Dish with Drain
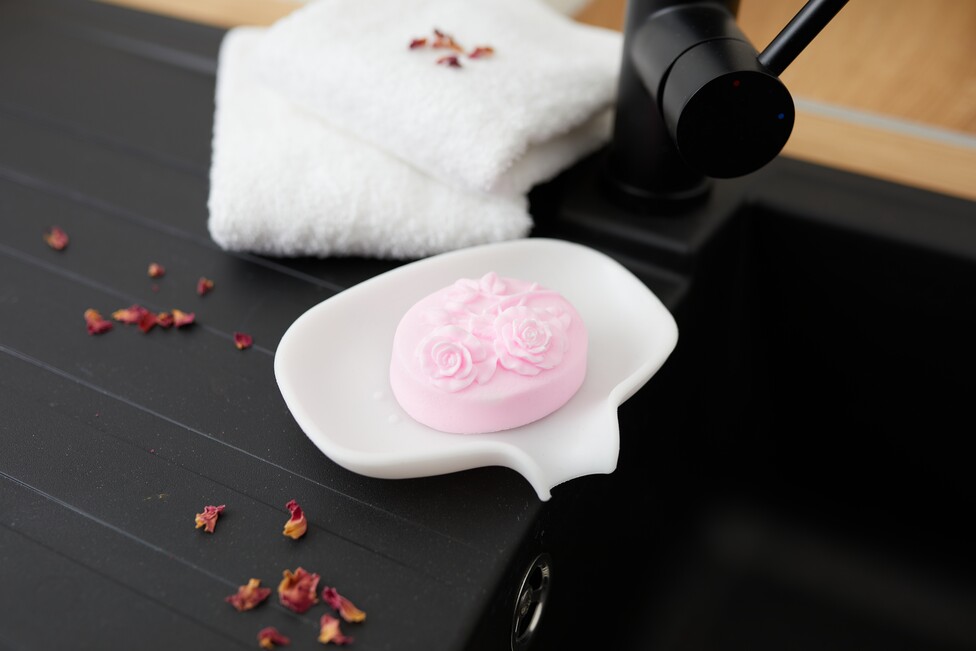
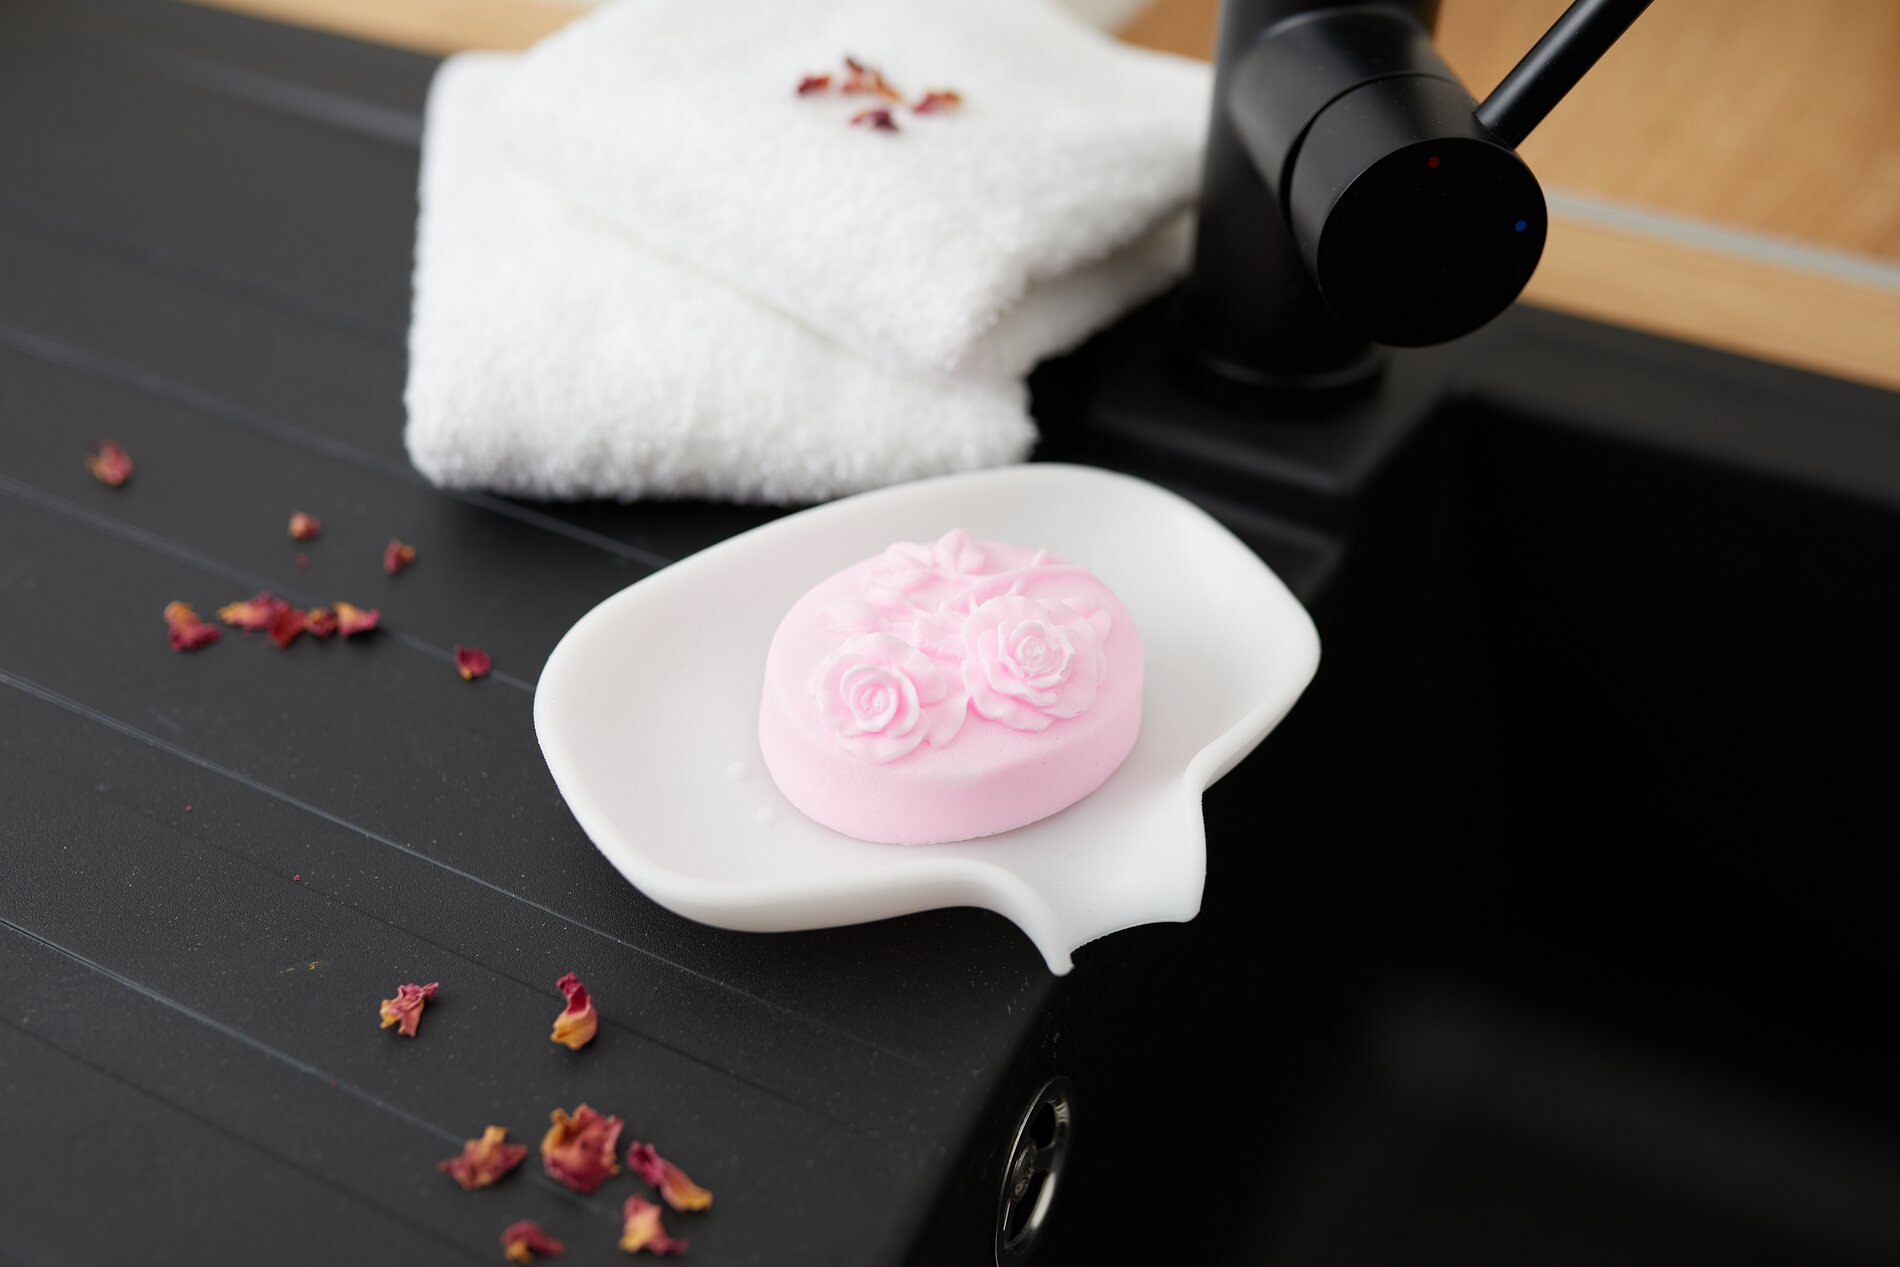
Discover the perfect blend of functionality and style with our VBS silicone soap dish with drain! This rectangular soap dish is a must-have for your bathroom if you value cleanliness and organization. The innovative design with mini nubs prevents even wet bars of soap from slipping, while the built-in drain efficiently removes excess water. This keeps your soap fresh and looking good for longer. This soap dish is ideal for your DIY-bar soaps.
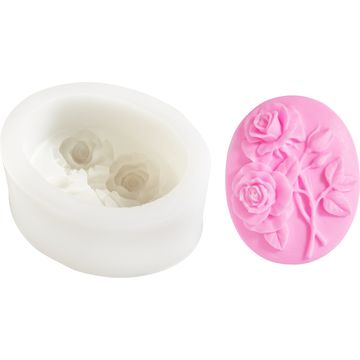
Making Rose Soap with the “ silicone mould ”
Set up your workspace so you can work quickly: a heat-resistant mat, paper towels, and the silicone mould. Silicone is flexible and easy to unmold—that’s exactly what makes soap making so straightforward for beginners. Place the mold on a stable, level surface so that the roses will harden evenly and take on a clean shape.
Gently melt the soap base
Cut the soap base into smaller pieces. This way, it melts faster and you won’t need to heat it as much. Heat the soap in a melting pot over low heat until it’s clear and liquid. Low heat is key here: it helps prevent bubbles and ensures that the scent and soap colour come through more beautifully later on.
Stir in the color and fragrance
Briefly remove the pot from the heat before adding the soap colour and fragrance. Stir slowly and evenly so that everything is well distributed and as little air as possible is incorporated. If you want a subtle result, start with a small amount of color and add more as needed. When it comes to fragrance, it’s best to start subtle—you can always add more later.
Pour into the mold and highlight details
Slowly pour the liquid soap into the silicone soap mold until the design is filled. For fine rose details, it helps to keep the stream very thin. Then gently tap the mold a few times on the surface. This causes air bubbles to rise to the top and makes the surface smoother—which is important so that the rose contours look clear and decorative when unmolded.
Let it harden and remove it safely from the mold
Let the soap cure undisturbed. Depending on the amount and room temperature, this usually takes a while—patience ensures that the mold remains stable and the edges don’t warp. To unmold, gently pull the silicone away from the edge and carefully press the soap out instead of pulling it. This keeps the rose petals clean and the surface intact.
Finishing touches for a particularly beautiful result
Once the soap is completely set, you can carefully smooth out any small rough edges with a knife. For a polished gift finish, wrap the rose soap immediately after it has set so that the scent and appearance stay fresh for a long time. Stop by our online shop and discover matching colors, scents, and accessories to continue your soap-making projects right away.