- Secure order
- Easy return shipment
- Service-Hotline +49 4231 668980
Instructions No. 4034
Difficulty: Beginner
Working time: 30 Minutes


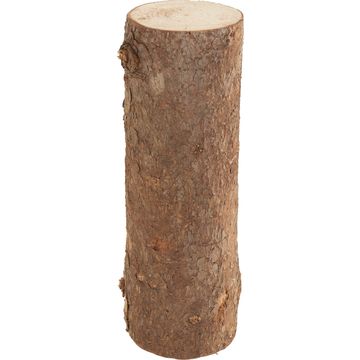
Painting a Snowman from a Log (Natural christmas decoration) Lay out a wipeable surface and position the log with its bark so that it stands securely. The bark of the DIY-snowman gives it a natural look that goes especially well with winter and christmas decoration .
1. Dab on the snow look Take white handicraft paint and dab it onto the log using a small sponge or a firm bristle brushes . Dabbing instead of painting is the trick here: This creates an irregular, “snow-covered” surface, and the wood’s texture remains visible. Let the paint dry thoroughly.
2. Paint the face: eyes, charcoal mouth, and dots Paint the eyes with black handicraft paint as two simple ovals or dots. Then add small black dots for the mouth. These dots instantly give the snowman an expressive look and lend him that classic winter charm.
3. Mix and place the carrot nose: For the nose, mix yellow and red “ handicraft paint, ” until you get a warm “ orange ” color. Paint the nose as a small triangle or a slightly curved carrot shape.
4. Tie the scarf: a soft detail with a wintery feel Tie a knitted tube around the torso as a scarf. Wrap it once around the “neck” and tie it loosely so the knitted texture stands out nicely.
5. Put on the knit hat and adjust it Put a knit hat on the snowman and pull it down slightly until it sits just right.
Looking for more natural craft ideas for Christmas? Then browse our online shop for matching craft paints, knitting accessories, and other wooden blanks, and get started on your next winter project right away.