- Secure order
- Easy return shipment
- Service-Hotline +49 4231 668980
Instructions No. 4078
Difficulty: Beginner
Working time: 2 Hours
Step 1: Paint the house silhouettes
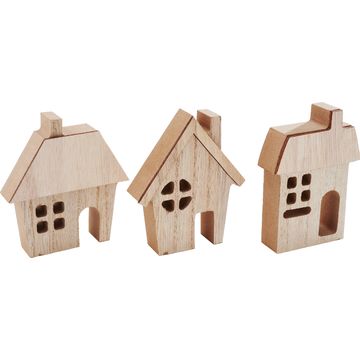
Paint the house silhouettes with handicraft paint. It’s better to apply two thin coats of paint rather than one thick one: This provides more even coverage and keeps the edges clean.
Step 2: Let it dry—so nothing smudges
Let the paint dry completely. This is important so you don’t leave fingerprints on the surface while continuing to work, and so the decorative snow sticks well later instead of mixing with wet paint.
Step 3: Apply decorative snow – textured snow edges
Apply decorative snow sparingly to roof edges, window arches, or small ledges. The snow creates that classic winter-Christmas effect and instantly turns the house silhouettes into little eye-catchers.
Step 4: Attach Micro-LED-chain of light to the house frame – warm glow for depth
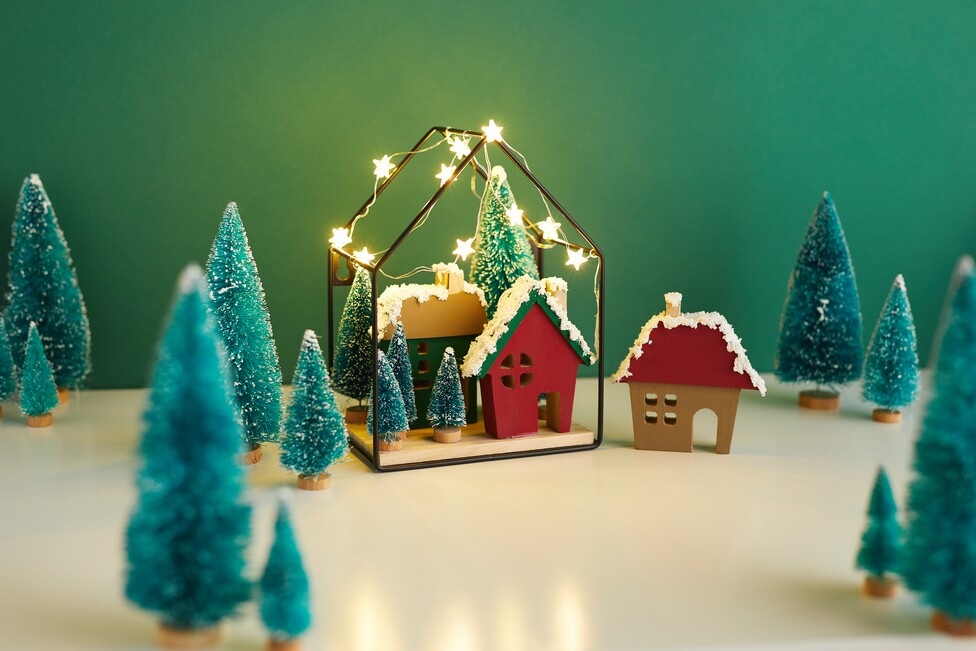
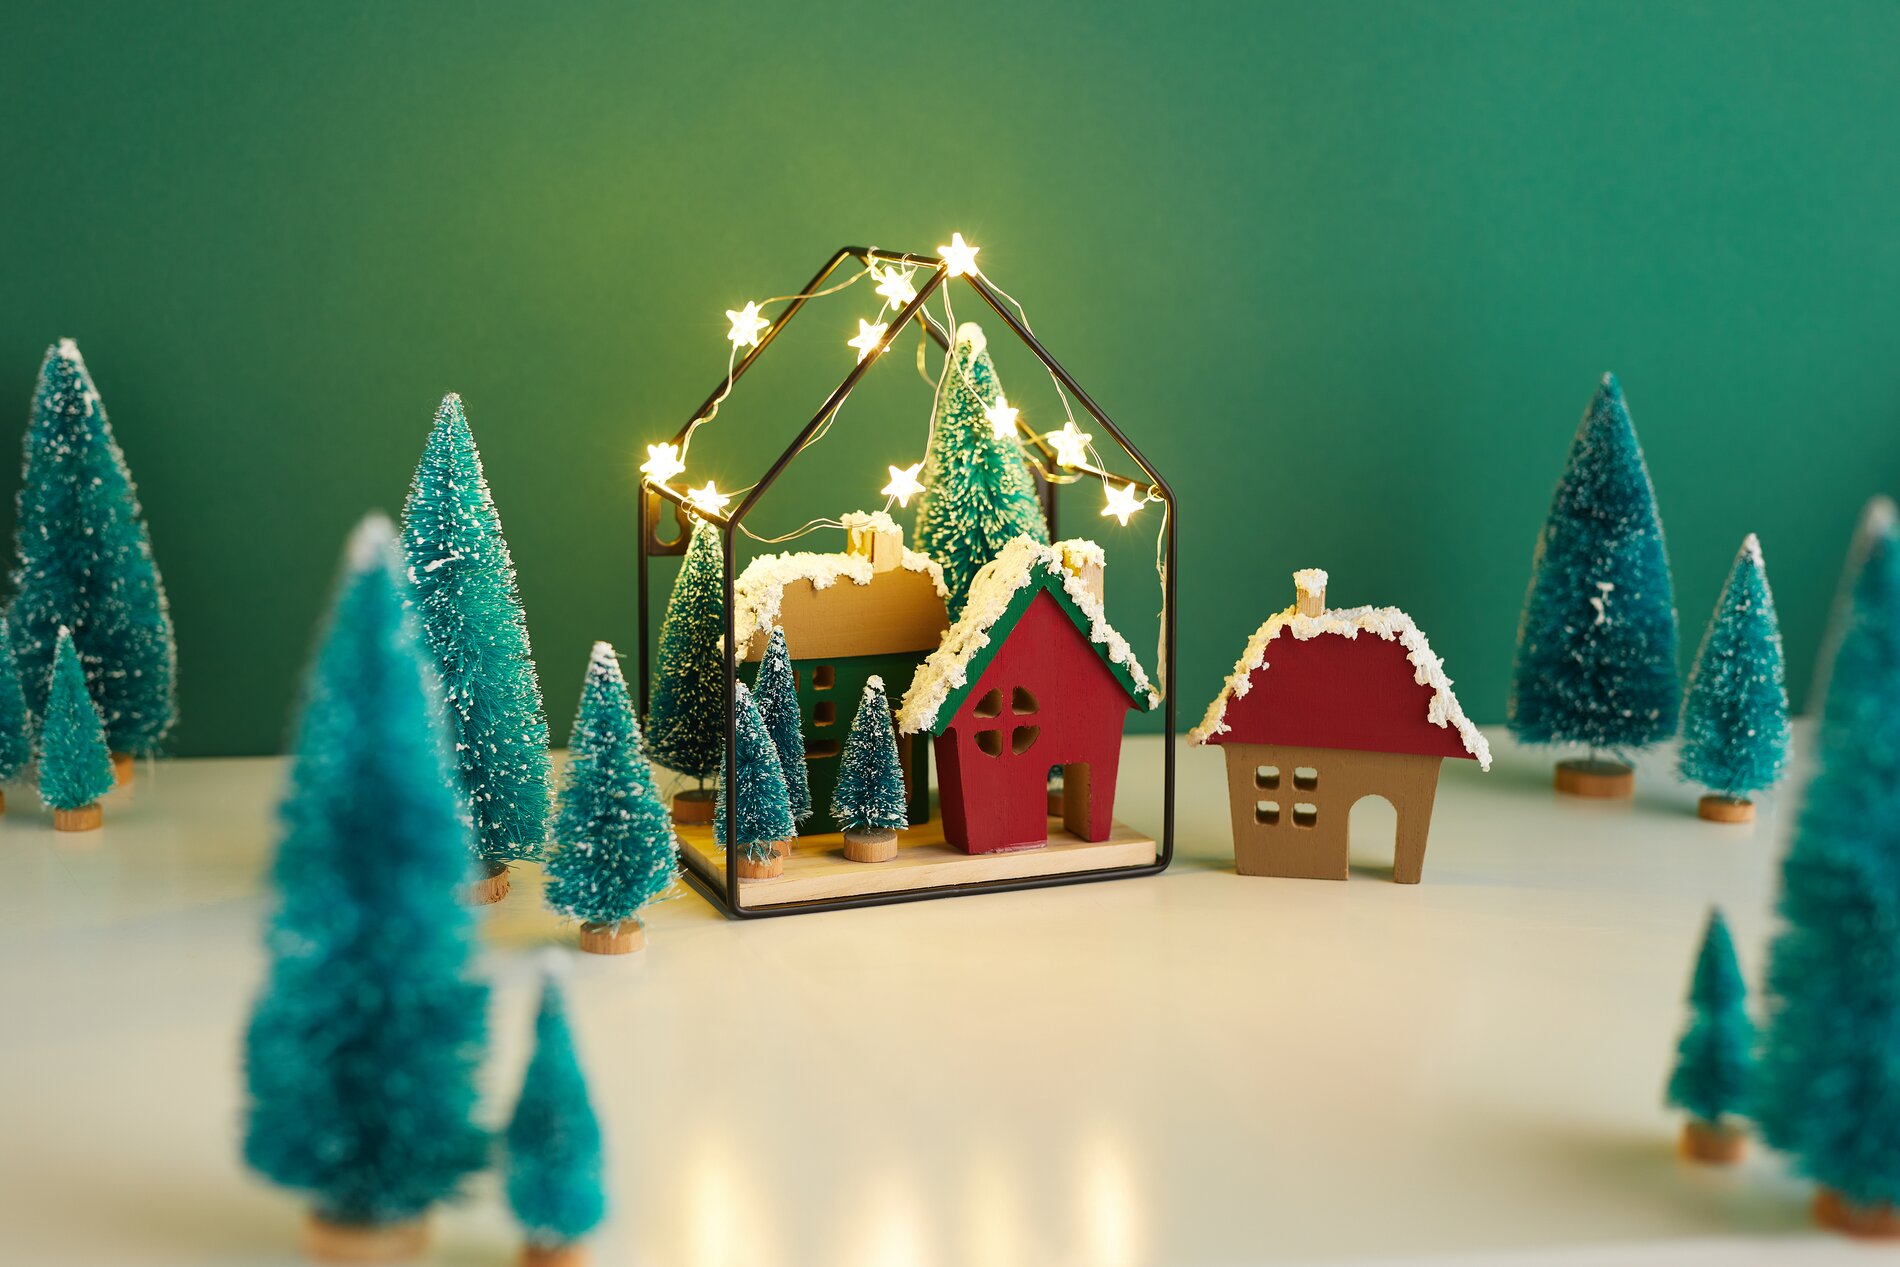
Wrap the Micro-LED-chain of light around the frame of the house-shaped wall shelf. Arrange the lights so that they highlight the outline while gently illuminating the interior. This creates a cozy atmosphere, and the house scene appears more three-dimensional in the evening.
Step 5: Hide the battery compartment – a clean look without the tech in the spotlight
Place or tape the battery compartment behind one of the houses. This keeps the technical components out of sight. Make sure you can still easily reach the switch so you can conveniently turn the Christmas lights on and off.
Step 6: Arrange the scene – place the houses and trees decoratively
Arrange the painted houses and small trees on the wall shelf as you like. If you run the “ chain of light ” slightly behind the houses, it will shine particularly beautifully between the silhouettes.
Now it’s your turn
Turn on the lights and enjoy your glowing house decoration on the wall shelf. If you’re in the mood for more house silhouettes, decorative snow, and matching craft paints for your winter and Christmas projects, you’ll find everything you need in the online shop to bring your next scene to life right away.