- Darmowa wysyłka od 320 zł na Polska
- Bezpieczne zamówienie


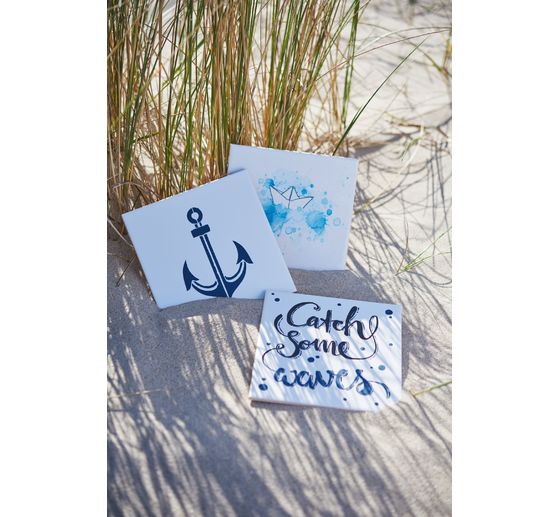

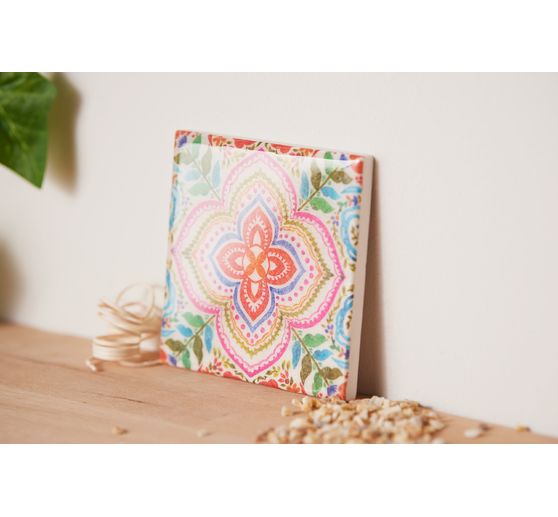


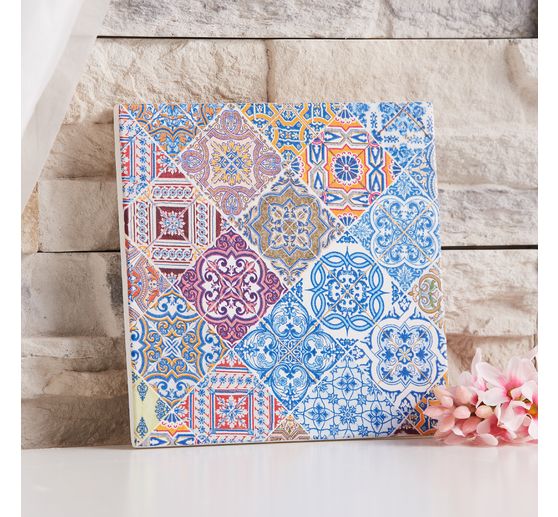


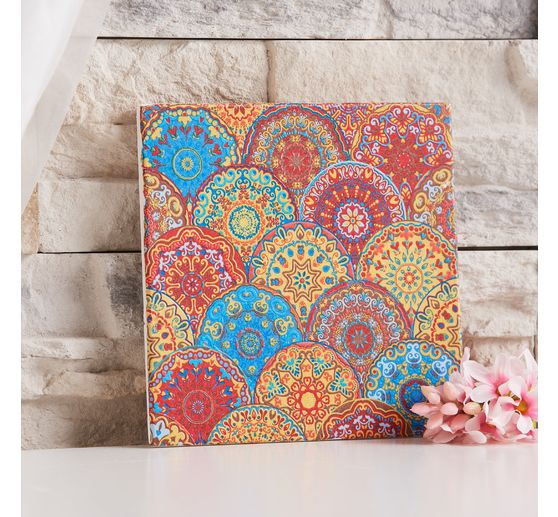


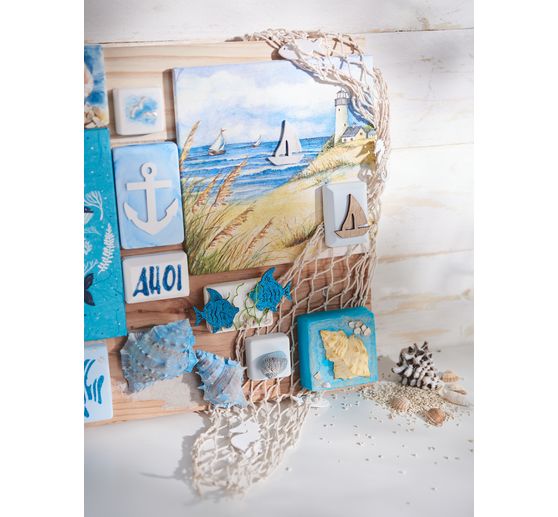
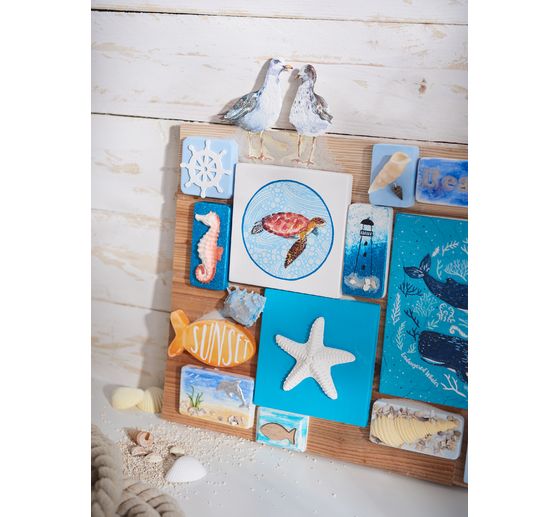


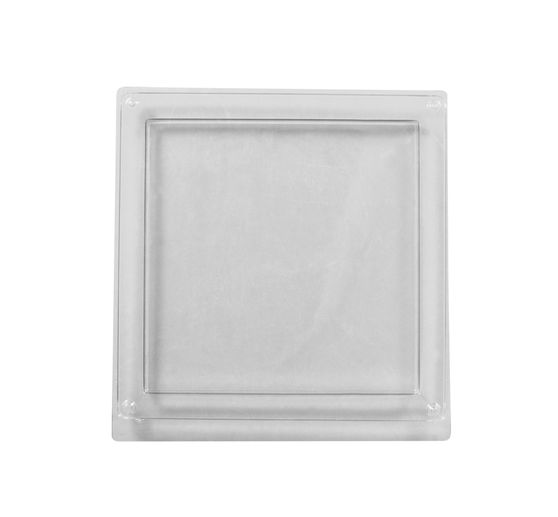


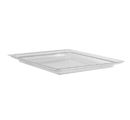

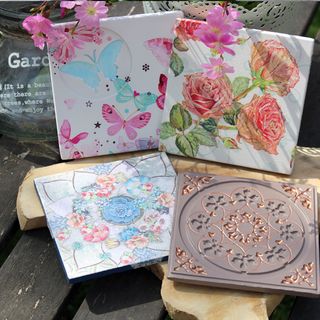
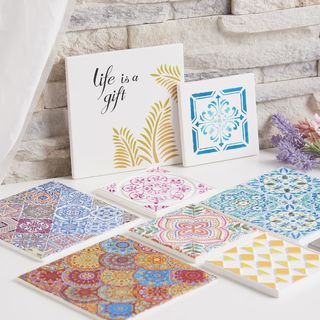
Spersonalizuj swój salon za pomocą formy do odlewania "Tile". Czy to jako podkładka pod kubek, czy do ozdabiania tac itp., mogą Państwo z łatwością tworzyć własne płytki za pomocą tej formy do odlewania wielokrotnego użytku. Forma ma grubość 1 cm, dzięki czemu idealnie nadaje się do betonu i kreatywnych mas odlewniczych. Specjalna wkładka reliefowa zapewnia wspaniałe wzory na Państwa płytkach.
Zalety formy do odlewania "Tile " są oczywiste: jest łatwa w użyciu, waży niewiele i jest trwała dzięki wytrzymałemu plastikowi. Ale najważniejsze jest to, że mogą Państwo użyć tej formy do stworzenia unikalnych akcentów w swoim domu. Niezależnie od tego, czy chodzi o jasne kolory, proste odcienie czy różne wzory - opcje projektowania są wspaniałe.
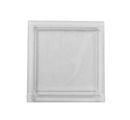
Dzięki formie do odlewania "Tile " mogą Państwo nie tylko upiększyć swój salon, ale także inne obszary domu. Na przykład, jak zrobić domową podkładkę pod kubek na stół w jadalni lub jako spersonalizowany prezent dla Państwa bliskich? A może przykleić małe płytki na ścianie jako dekorację?
Zamów formę do odlewania "Tile " już teraz i zamień swoje kreatywne pomysły w rzeczywistość. Zdobądź to wyjątkowe akcesorium do rękodzieła i zostań mistrzem projektowania płytek!
Tips to use:
Preparations:
Mix the desired casting compound according to the instructions. If you wish, you can color it with color pigment powder.
Application:
Slowly pour the mixed casting compound into the casting mould. Leave a rim of at least 2 mm free to make it easier to demould your casting later.
Gently tap the casting mould so that the mixture is evenly distributed and any air bubbles come to the surface. You can then prick these with a lace object.
Time to dry:
Allow the casting compound to harden well. Follow the drying times specified in the instructions for the casting compound.
Work to finish:
You can now demould your casting. If the casting does not come off simply by dropping it, you can carefully loosen the mould all around with your fingers and tap it against the mould.
Good to know:
For detailed moulds, we recommend using a mould release agent or release wax to protect the mould.