- Secure order
- Easy return shipment
- Service-Hotline +49 4231 668980
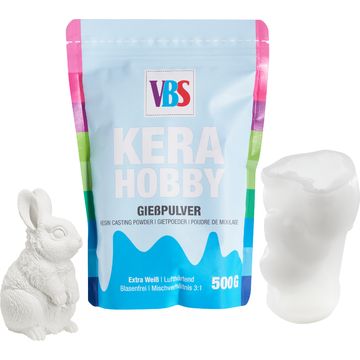
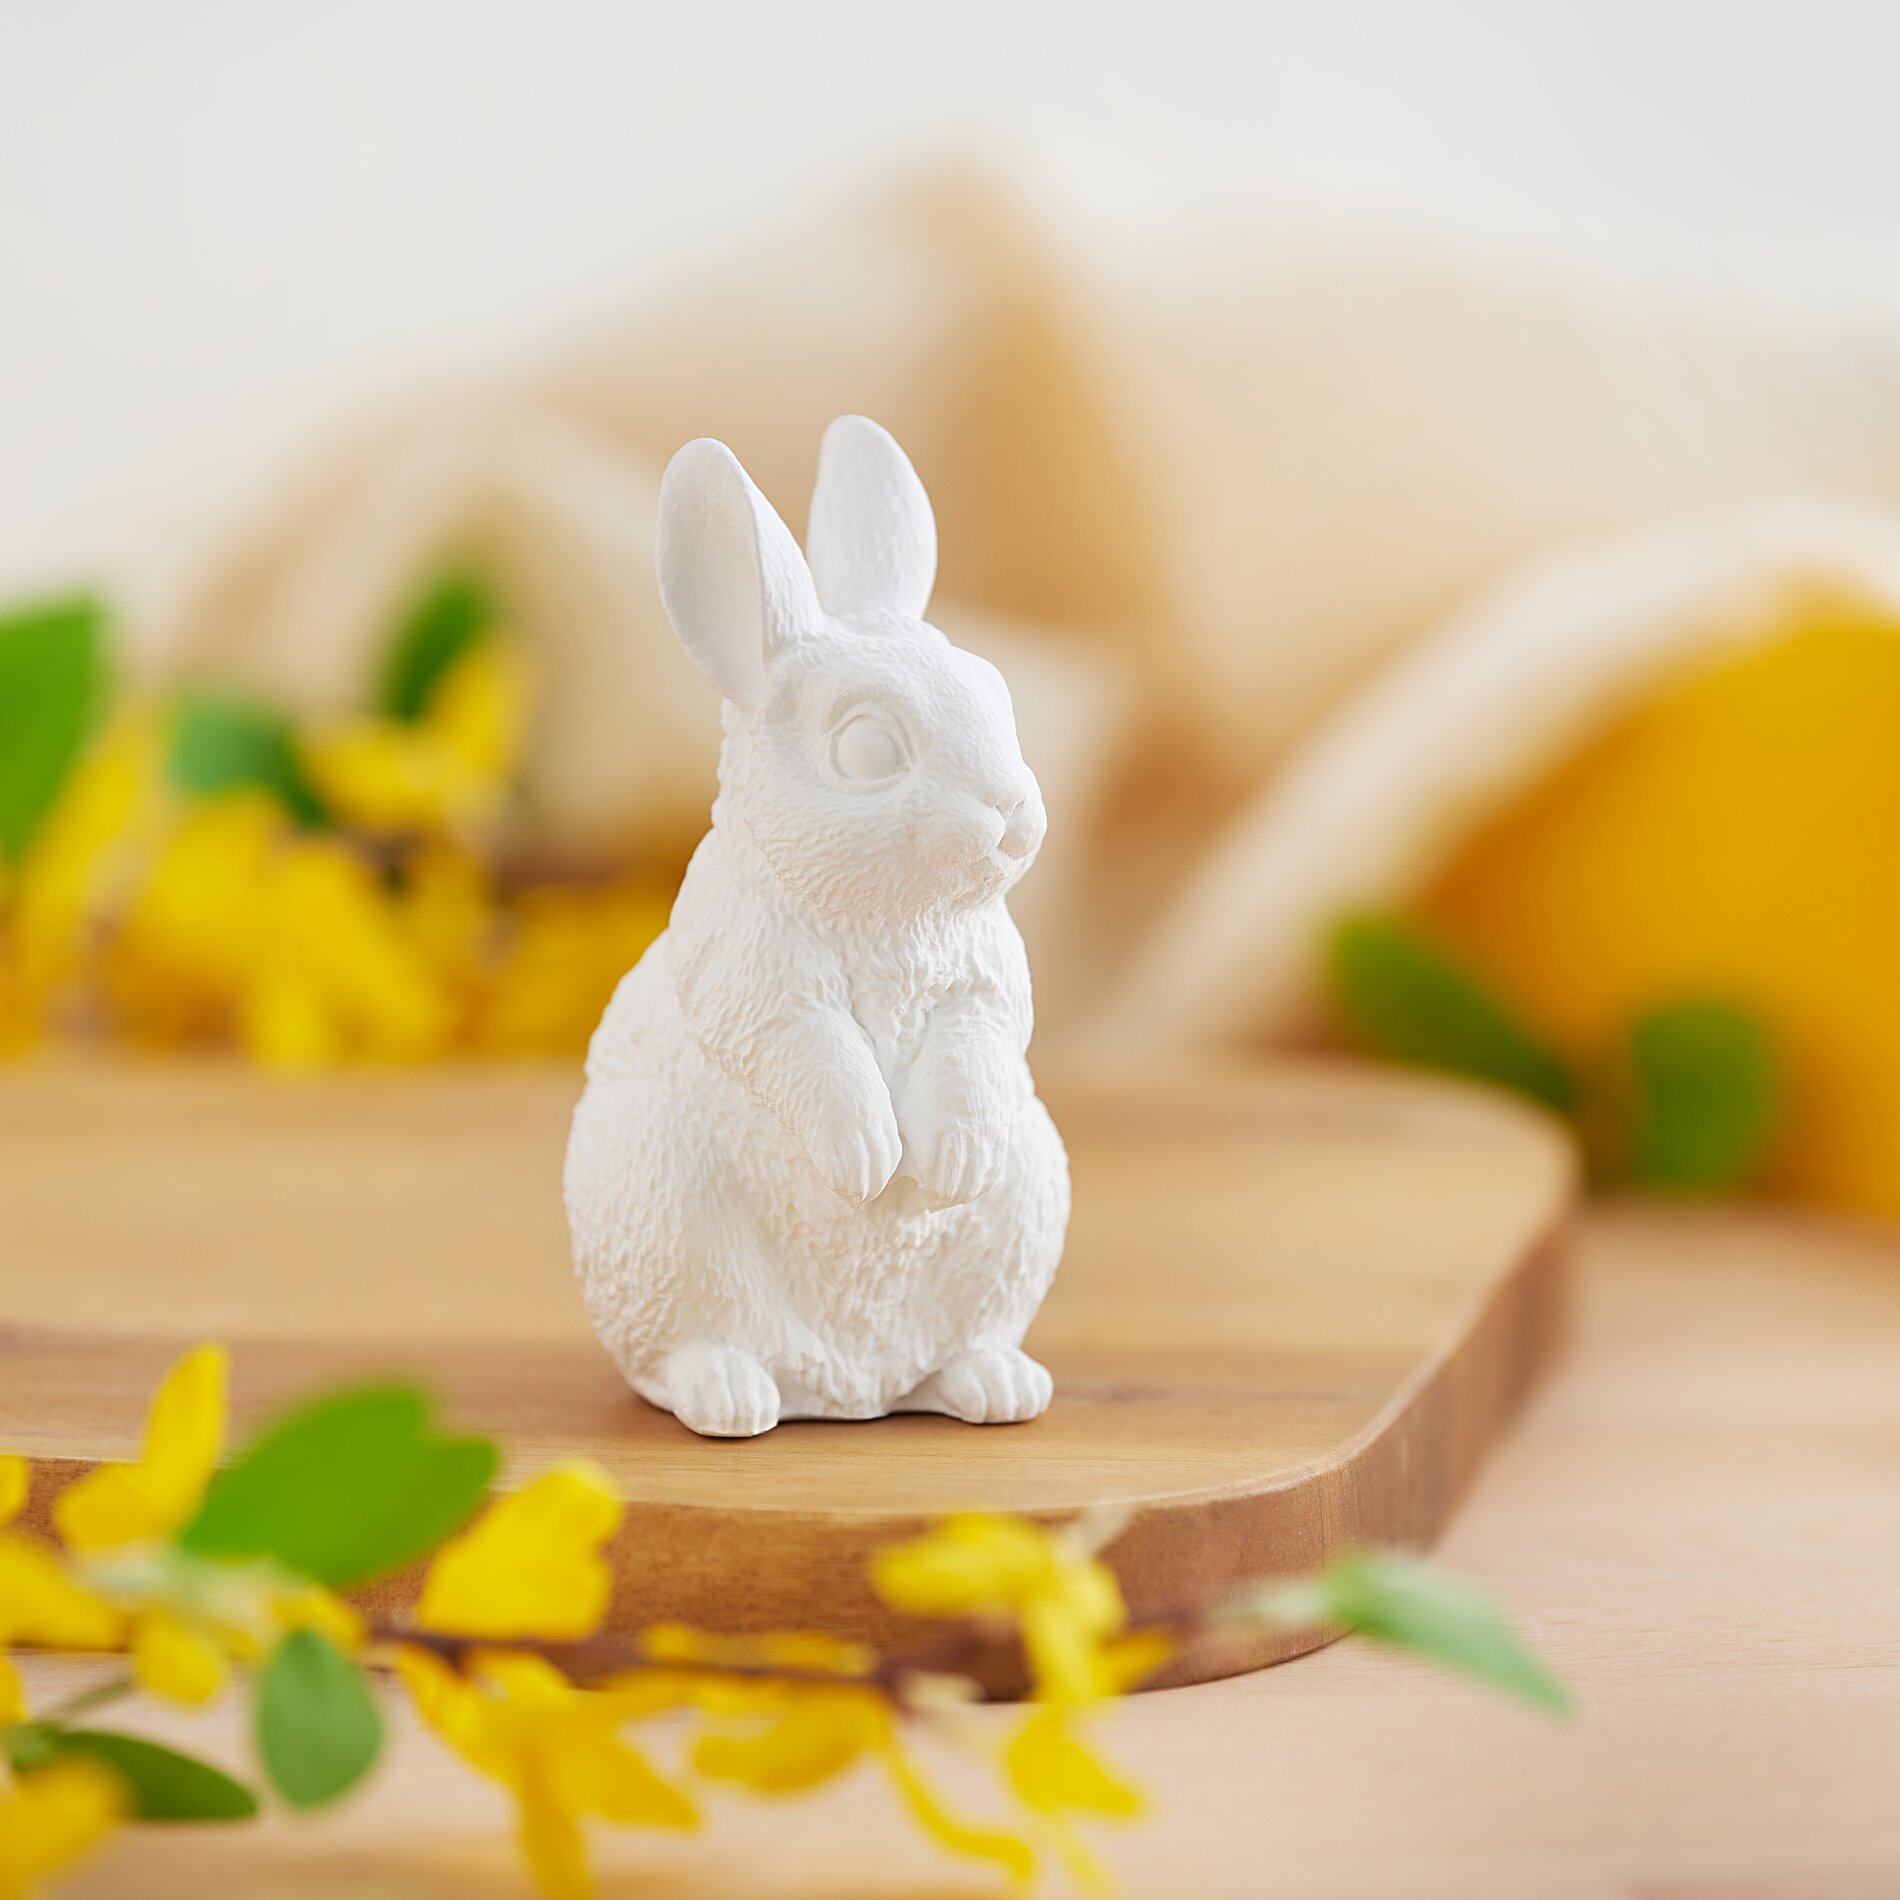
Instructions No. 3630
Working time: 1 hour

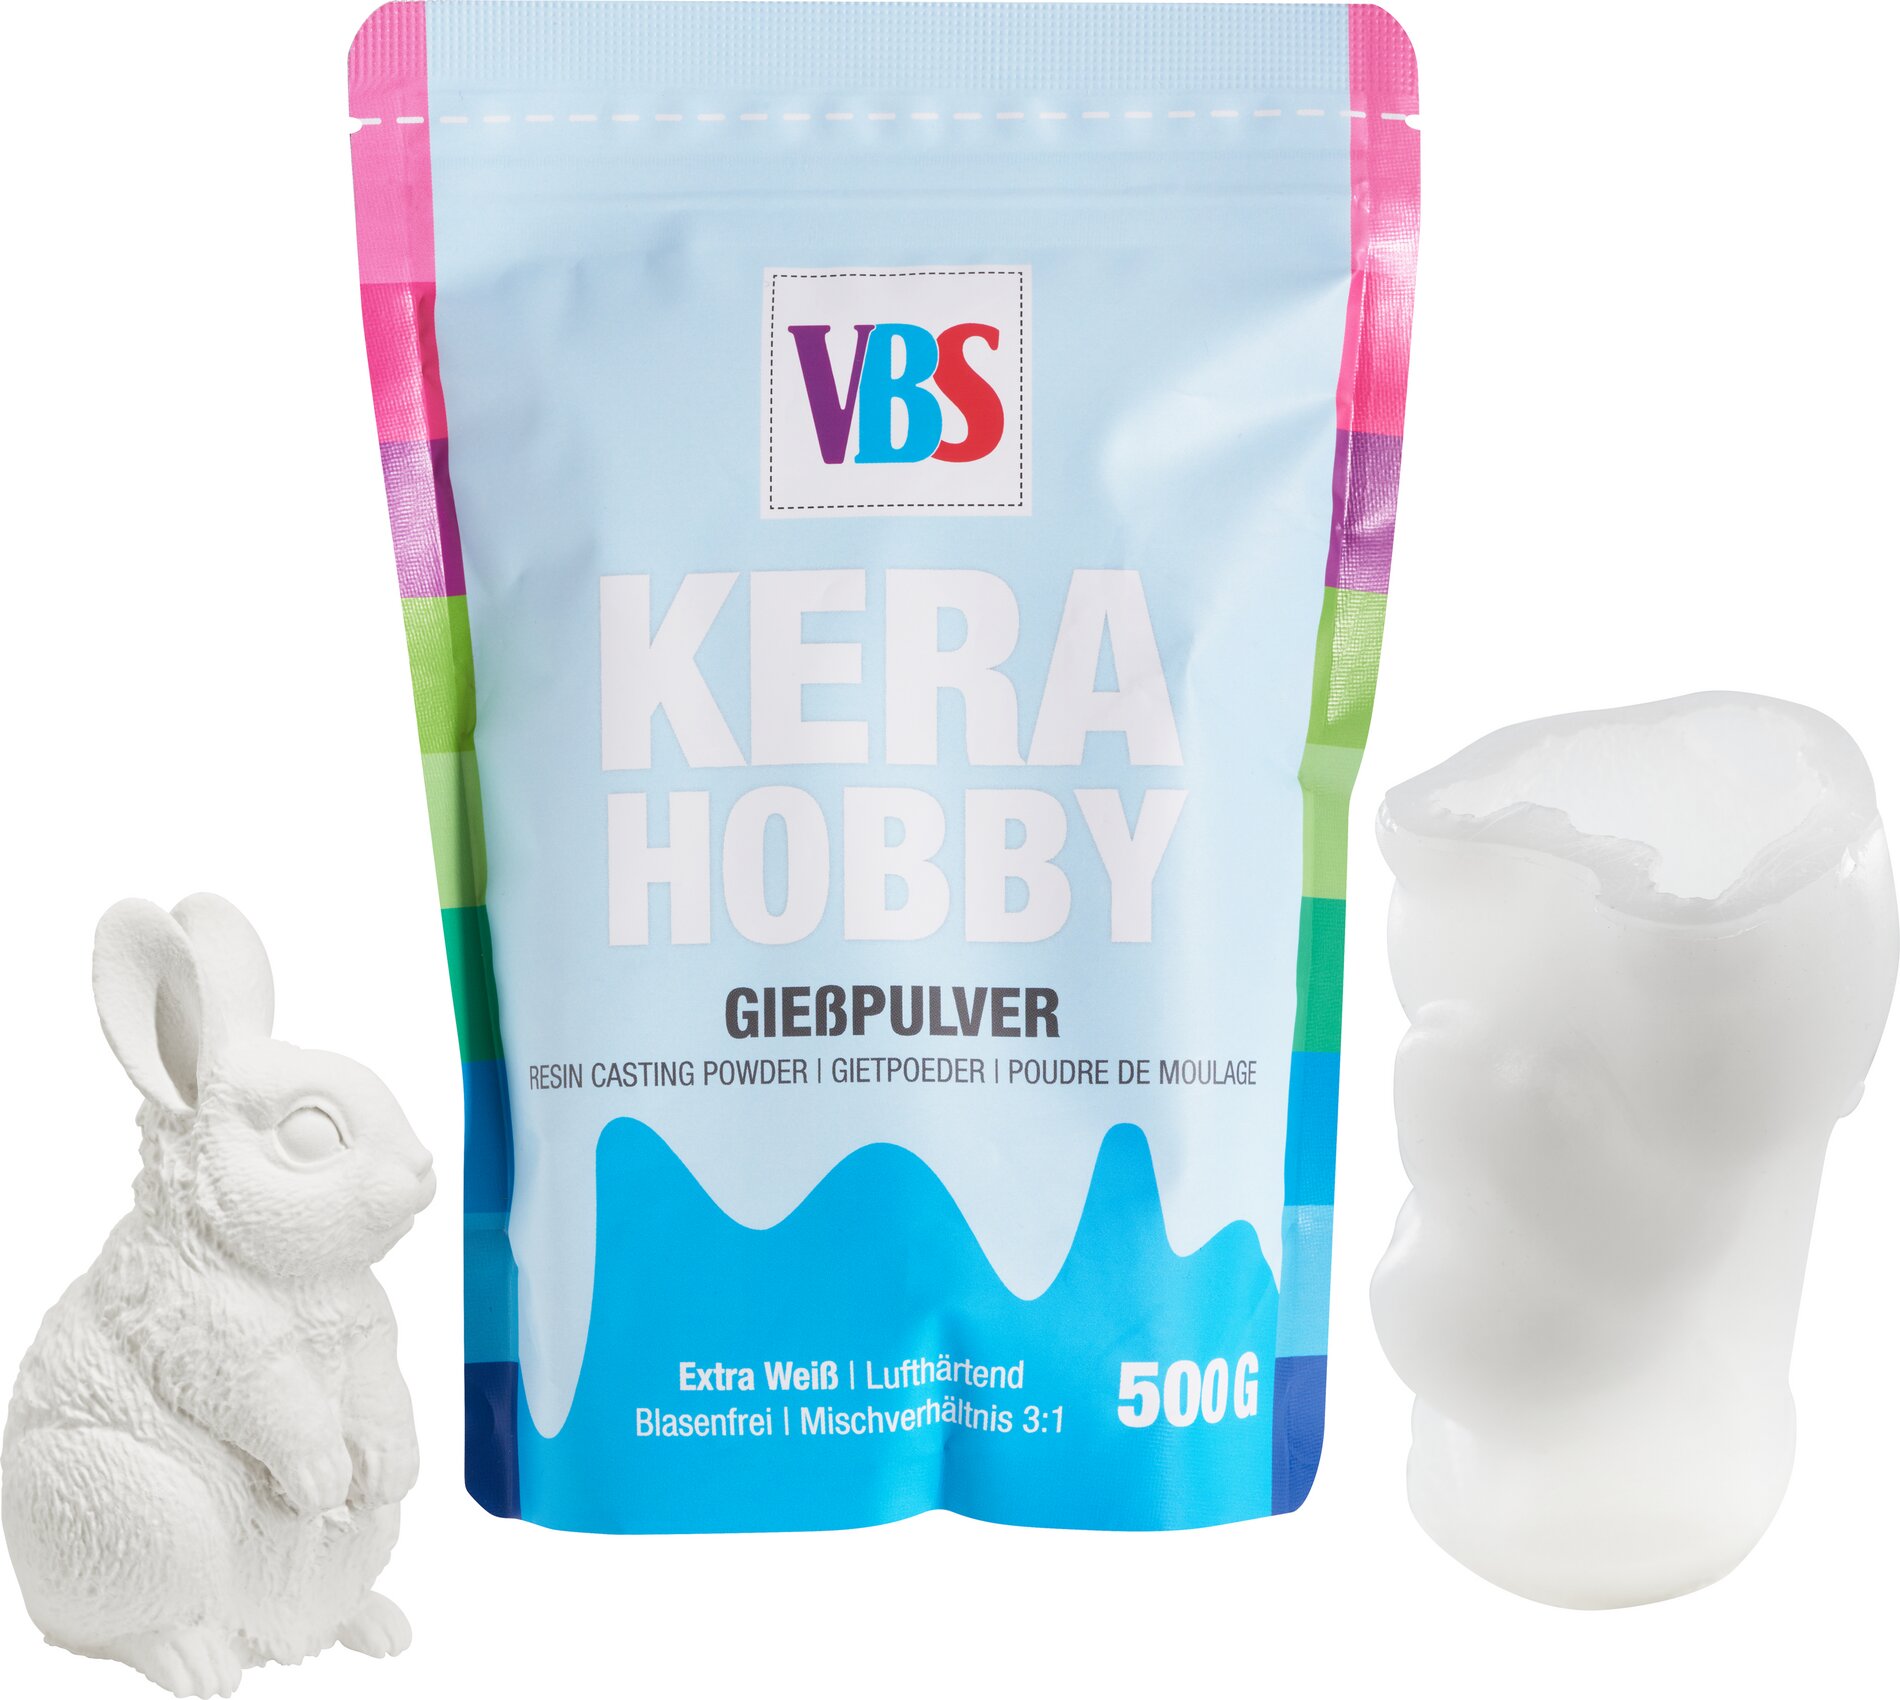
Step 1: Measure out the casting powder
Start by measuring out the KeraHobby casting powder in a mixing ratio of 3:1. You will need 150 grams of casting powder and 50 grams of water. Accurate weighing ensures that your casting compound has the right consistency and that your bunny is perfect.
Step 2: Mix the casting compound
Now mix the measured powder and water together quickly. It is important to ensure a lump-free, creamy consistency. This homogeneously mixed material ensures a smooth and even result when pouring.
Step 3: Fill the mold
Fill the mixed casting compound slowly and evenly into the bunny-silicone mould. To avoid air bubbles in the compound, tap the mold carefully or shake it gently. This technique ensures an air bubble-free and flawless object.
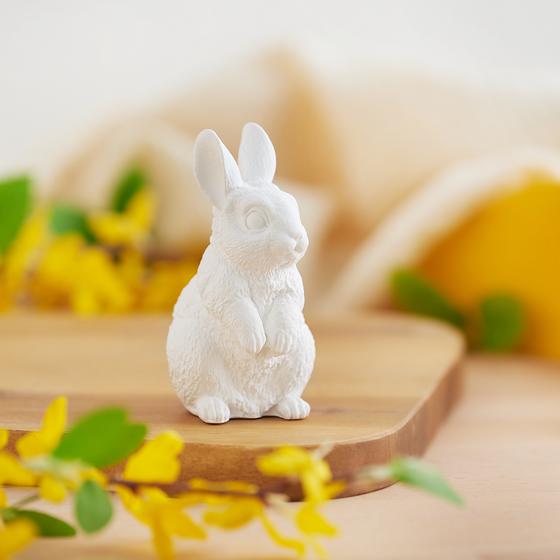
Step 4: Demolding the bunny
Leave the casting compound to harden for around 30 minutes. Then carefully remove the cast bunny from the silicone mould. If there are any small bumps, you can easily smooth them out with a fine sandpaper and perfect your work of art.
Additional tip: Finishing the bunny
Before you paint or seal your bunny, it should be completely dry. Allow about 2-3 days for this Time to dry: . This final step gives your bunny the finishing touch and makes it a long-lasting piece of decoration.
Your creative experience begins here!
Now you're ready to design your own Easter bunny to decorate your home. Let your creativity run wild and personalize your watering bunny according to your wishes. Order the VBS "Bunny" casting set now in our online store and discover the variety of other craft and creative materials we have in store for you. Start your next craft project today and enrich your home with individual works of art!