- Darmowa wysyłka od 320 zł na Polska
- Bezpieczne zamówienie


 Darmowa wysyłka od 320 zł*
 Wysyłka z DHL
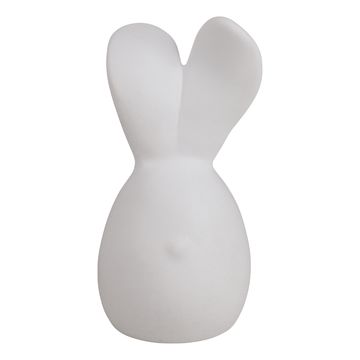
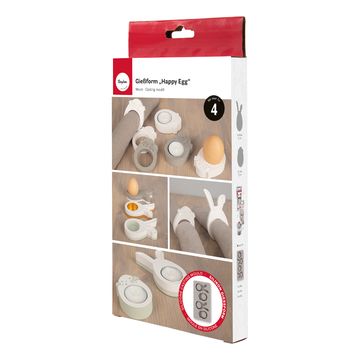
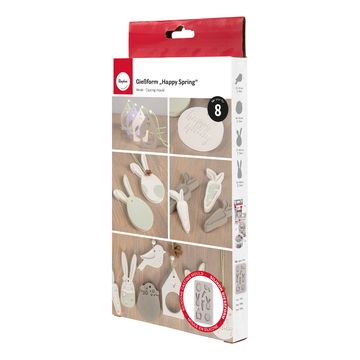
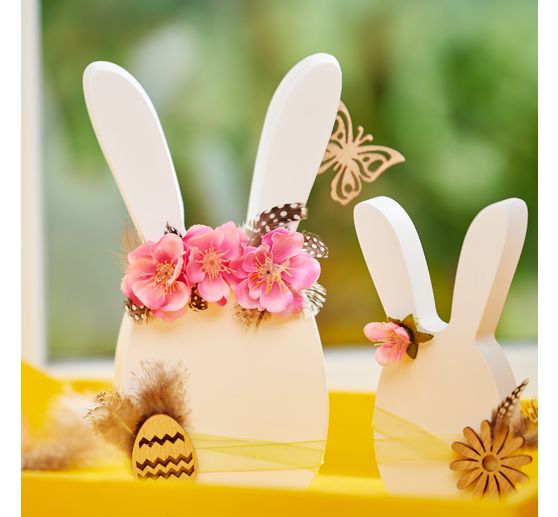
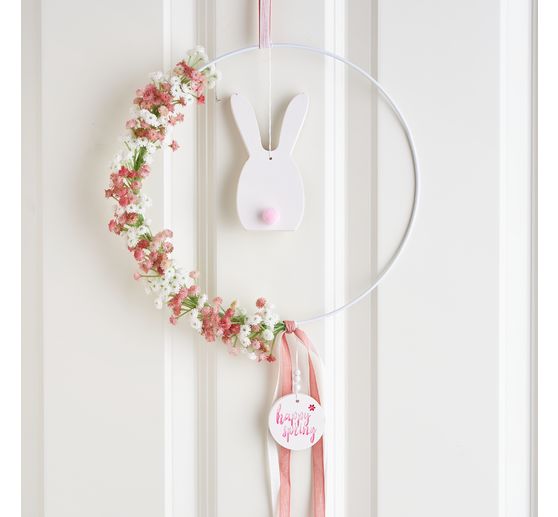
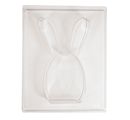
Stwórz piękne dekoracje wielkanocne dla swojego domu dzięki formie do odlewania "Króliczek"!
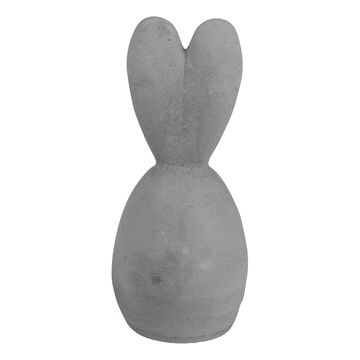
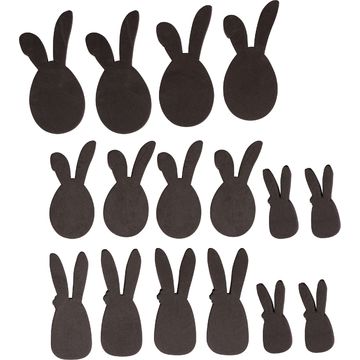
Dzięki wysokości 12 cm i szerokości 6,8 cm , motyw ten jest idealny dla wszystkich entuzjastów rękodzieła i doskonale pasuje do każdej dekoracji wielkanocnej. Forma do odlewania pozwala na tworzenie własnych odlewów z masy plastycznej lub betonu. Dzięki pojemności 110 ml mogą Państwo wykonać swoje dekoracje wielkanocne w mgnieniu oka. Forma do odlewania ma 1,8 cm szerokości i 12,3 cm długości.
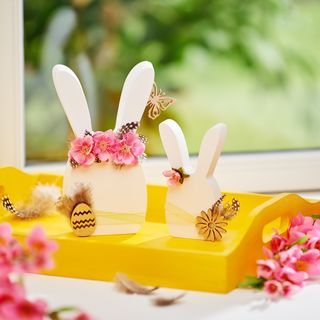
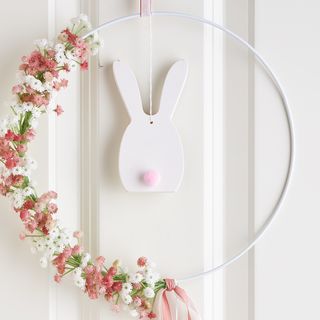
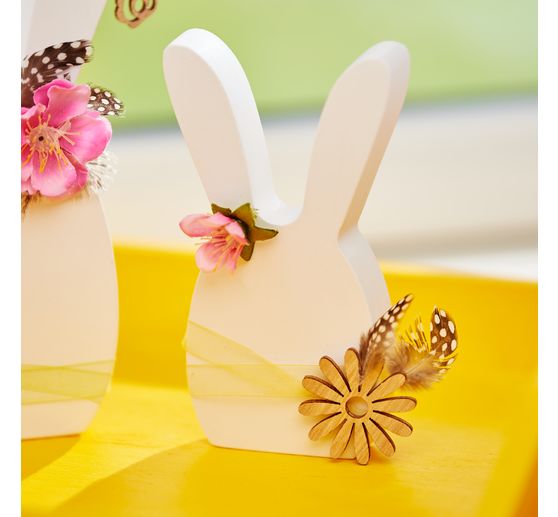
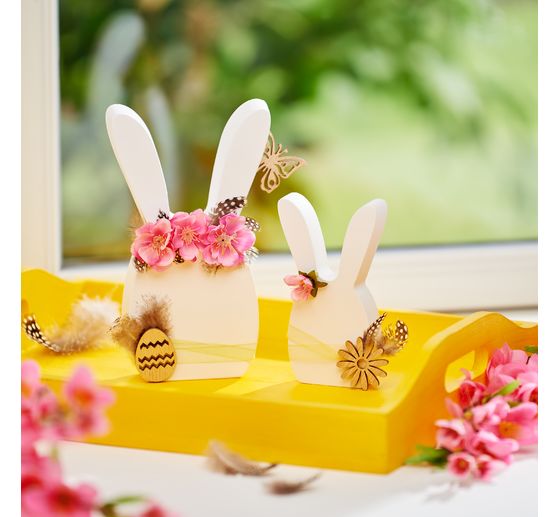
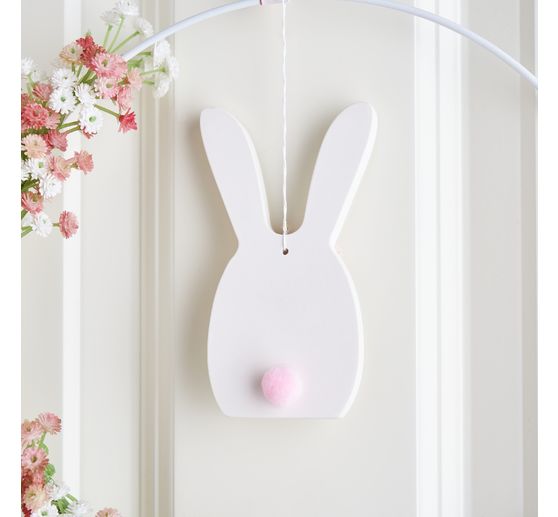
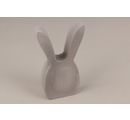
Gotowe formy można wykorzystać jako ozdobne zawieszki na prezenty wielkanocne, jako dekoracje stołu lub jako część wielkanocnego ogrodu. Nadaj swoim dekoracjom wielkanocnym osobisty charakter i pozwól swoim dziełom zabłysnąć w stylu DIY. Proszę połączyć formę do odlewania z innymi motywami wielkanocnymi i uformować własne odlewy, aby uzyskać indywidualny wygląd. Proszę użyć formy do odlewania w połączeniu z naszymi kreatywnymi masami do odlewania lub zaprojektować swoje króliczki z kokardkami, kolorami lub drobinkami brokatu.
Zamów formę do odlewania "króliczków " już teraz i rozpocznij swój kolejny projekt rękodzielniczy, aby uzyskać idealną atmosferę Wielkanocy!
Tips to use:
Preparations:
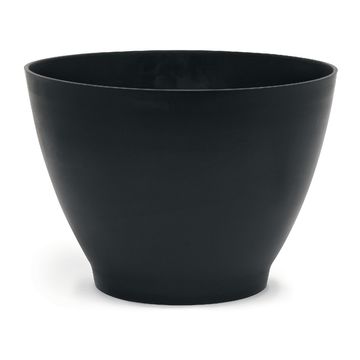
Mix the desired casting compound according to the instructions. If you wish, you can color it with color pigment powder.
Application:
Slowly pour the mixed casting compound into the casting mould. Leave a rim of at least 2 mm free to make it easier to demould your casting later.
Gently tap the casting mould so that the mixture is evenly distributed and any air bubbles come to the surface. You can then prick these with a lace object.
Time to dry:
Allow the casting compound to harden well. Follow the drying times specified in the instructions for the casting compound.
Work to finish:
You can now demould your casting. If the casting does not come off simply by dropping it, you can carefully loosen the mould all around with your fingers and tap it against the mould.
Good to know:
For detailed moulds, we recommend using a mould release agent or release wax to protect the mould.
Tips to use:
Preparations:
Mix the desired casting compound according to the instructions. If you wish, you can color it with color pigment powder.
Application:
Slowly pour the mixed casting compound into the casting mould. Leave a rim of at least 2 mm free to make it easier to demould your casting later.
Gently tap the casting mould so that the mixture is evenly distributed and any air bubbles come to the surface. You can then prick these with a lace object.
Time to dry:
Allow the casting compound to harden well. Follow the drying times specified in the instructions for the casting compound.
Work to finish:
You can now demould your casting. If the casting does not come off simply by dropping it, you can carefully loosen the mould all around with your fingers and tap it against the mould.
Good to know:
For detailed moulds, we recommend using a mould release agent or release wax to protect the mould.