- Darmowa wysyłka od 320 zł na Polska
- Bezpieczne zamówienie
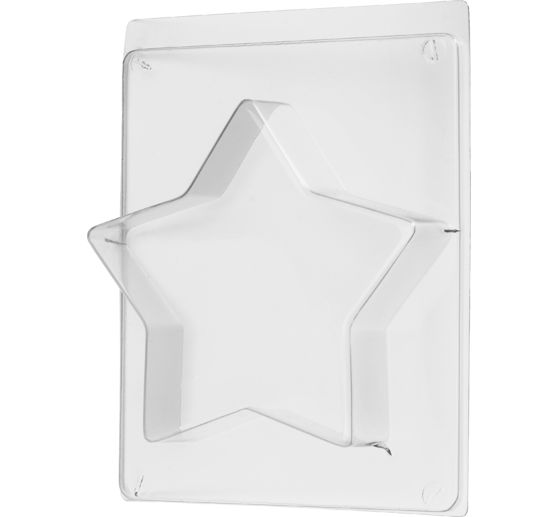
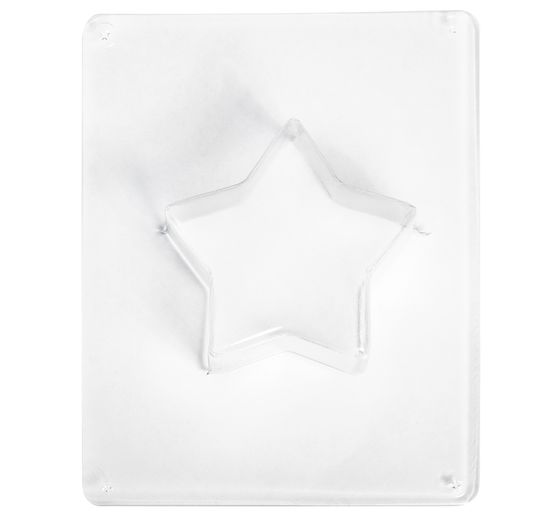
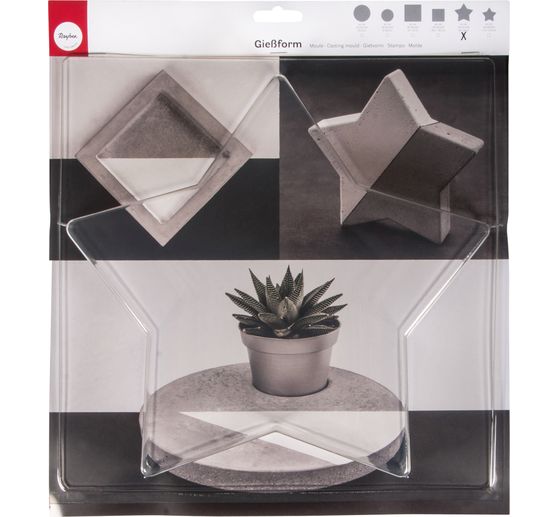
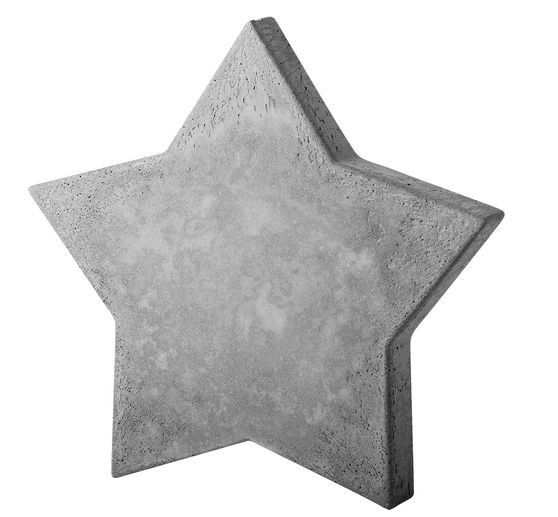


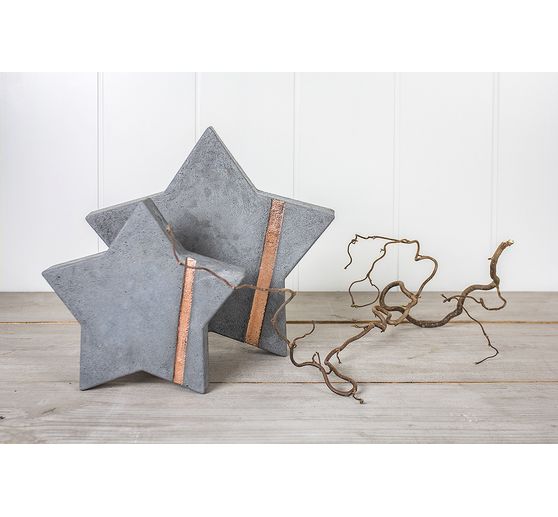
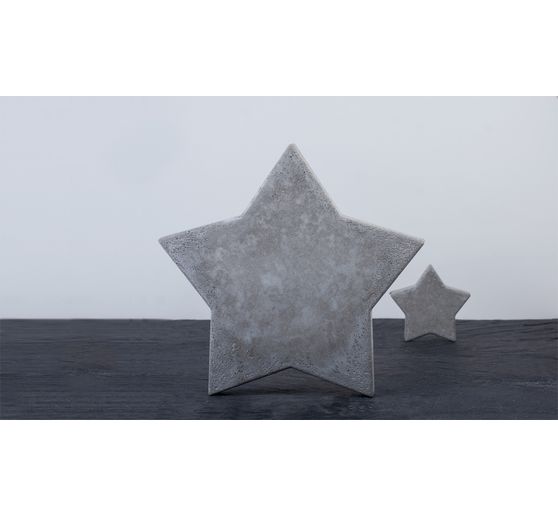


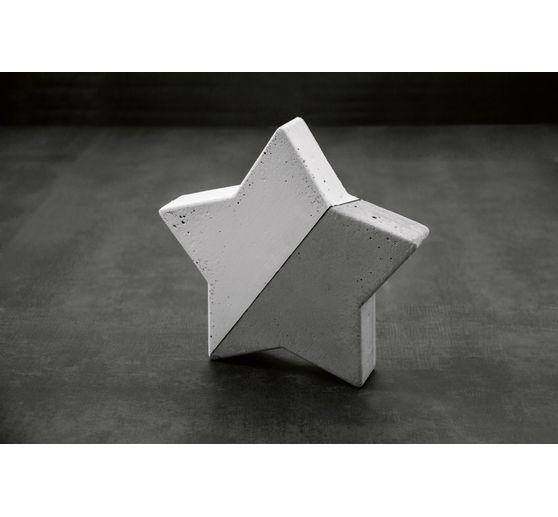
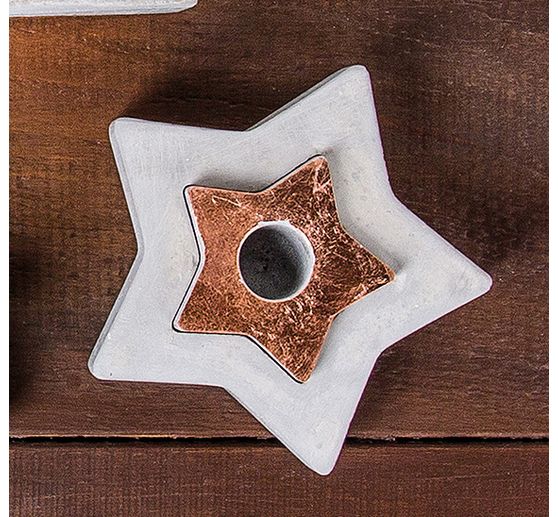
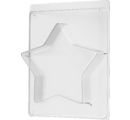
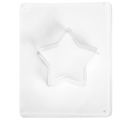
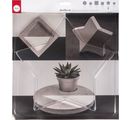


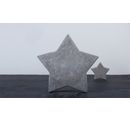
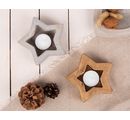
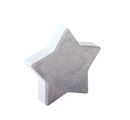

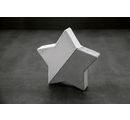
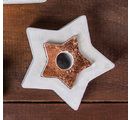

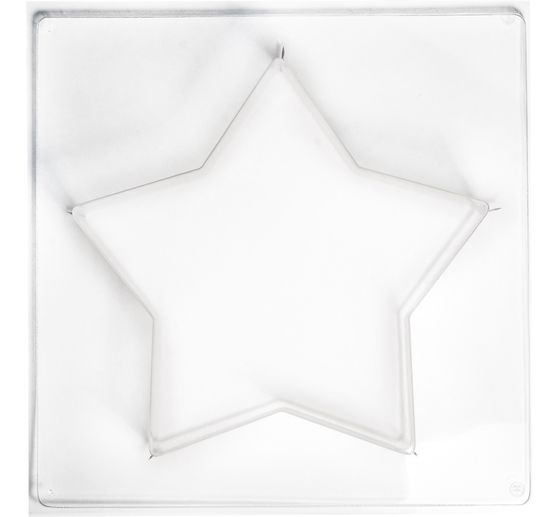

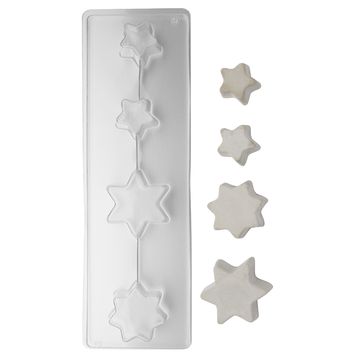
Świetna forma do odlewania "gwiazd", która jest szczególnie odpowiednia do odlewania z betonu kreatywnego i Raysin. Forma jest odporna na temperaturę do 60°C i jest wyjątkowo stabilna i sprężysta.
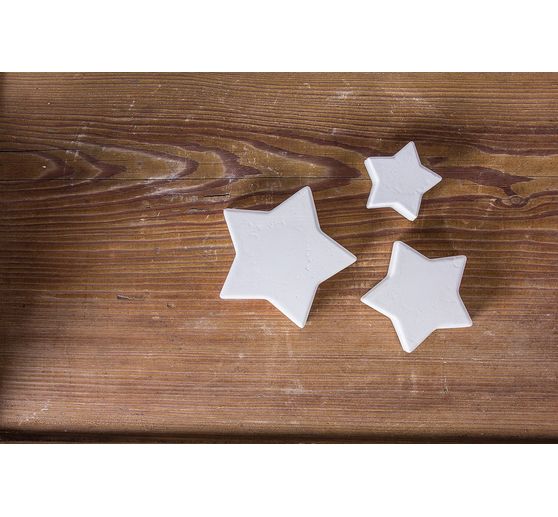
A oto jak łatwo jest uformować gwiazdę:
Proszę wcześniej lekko posmarować formę olejem spożywczym
Proszę nie wlewać wymieszanej kreatywnej masy odlewniczej aż do krawędzi.
Pozostawić do stwardnienia, a w razie potrzeby przytrzymać formę pod zimną bieżącą wodą i lekko postukać o twardą powierzchnię podczas wyjmowania z formy.
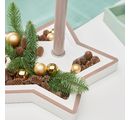
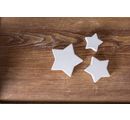
Proszę użyć papieru ściernego, aby zeszlifować nierówne lub ostre krawędzie. Teraz proszę użyć farb rzemieślniczych, markerów lub nawet metalowych listków , aby nadać gwieździe tego szczególnego charakteru i uzyskać wspaniałą opcję dekoracyjną do wyeksponowania na parapecie, komodzie lub nawet na tacy. Proszę dodać dekoracyjny śnieg, posypkę i sznur światełek, a także inne formowane motywy, aby stworzyć wspaniałą zimową dekorację w mgnieniu oka.
Wymagania materiałowe:
Ø 21,5 cm: maks. 3300 g
Ø 28 cm: maks. 1700 g
Tips to use:
Preparations:
Mix the desired casting compound according to the instructions. If you wish, you can color it with color pigment powder.
Application:
Slowly pour the mixed casting compound into the casting mould. Leave a rim of at least 2 mm free to make it easier to demould your casting later.
Gently tap the casting mould so that the mixture is evenly distributed and any air bubbles come to the surface. You can then prick these with a lace object.
Time to dry:
Allow the casting compound to harden well. Follow the drying times specified in the instructions for the casting compound.
Work to finish:
You can now demould your casting. If the casting does not come off simply by dropping it, you can carefully loosen the mould all around with your fingers and tap it against the mould.
Good to know:
For detailed moulds, we recommend using a mould release agent or release wax to protect the mould.