- Darmowa wysyłka od 320 zł na Polska
- Bezpieczne zamówienie


 Darmowa wysyłka od 320 zł*
 Wysyłka z DHL
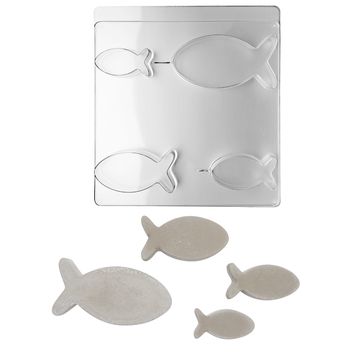
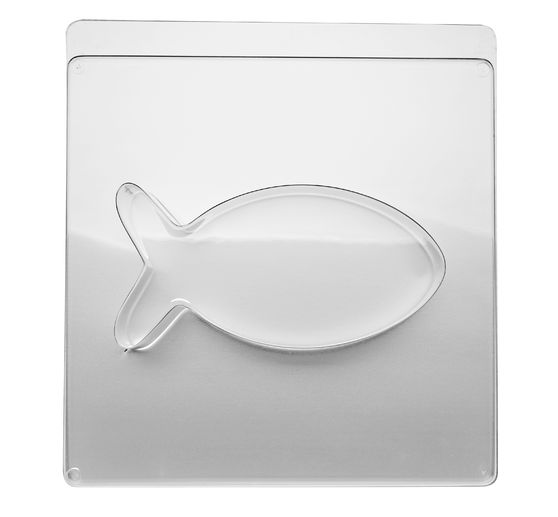
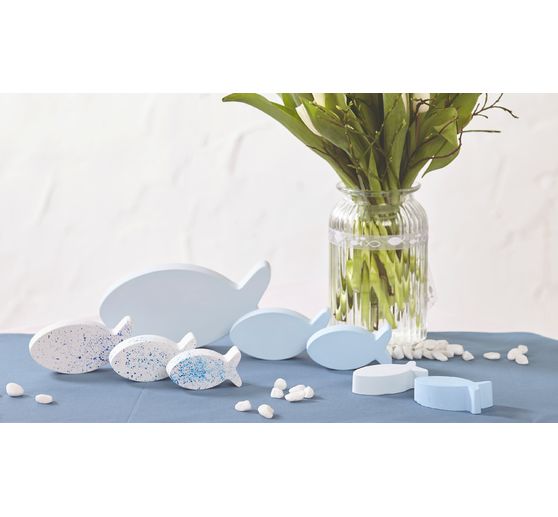
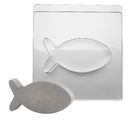
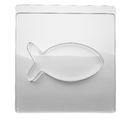
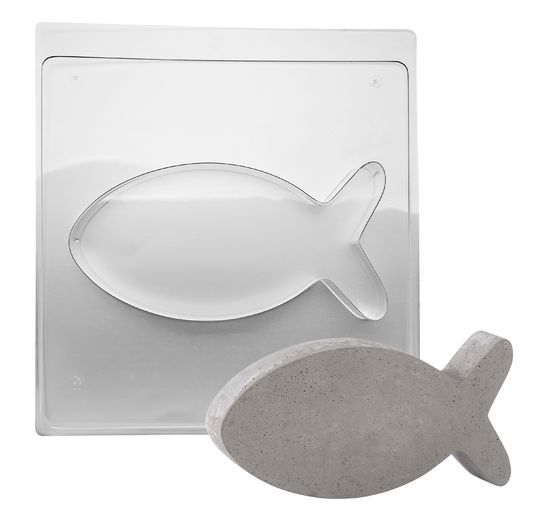
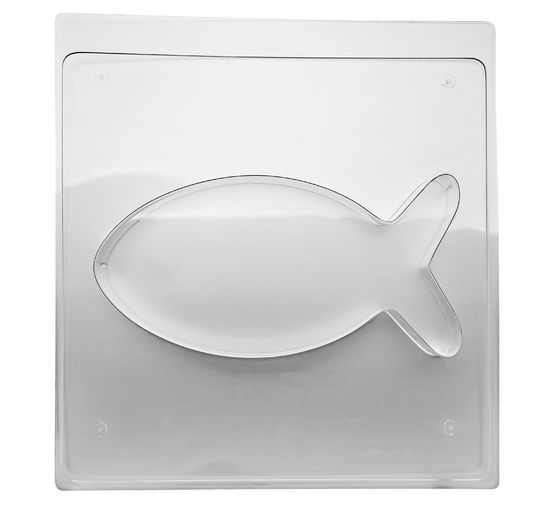
Dzięki formie do odlewania "Rybka " mogą Państwo wyczarować wyjątkowe dekoracje! Odporna na wysokie temperatury (do ok. 60°C) i wysoce przezroczysta forma do odlewania wykonana z PET jest stabilna i nadaje się do wielokrotnego użytku. Niezależnie od tego, czy jest to beton , czy masa odlewnicza, mogą Państwo uformować własną rybę w zaledwie kilku krokach.
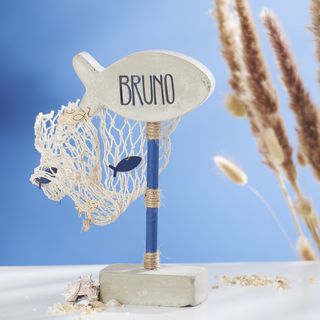
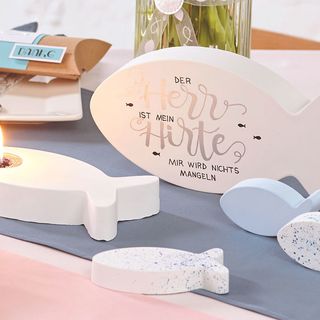
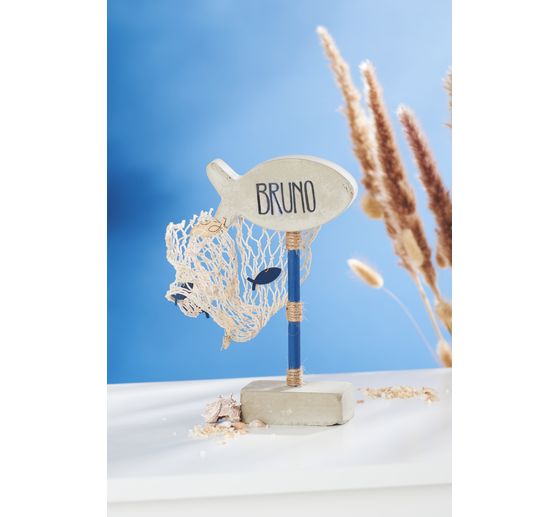
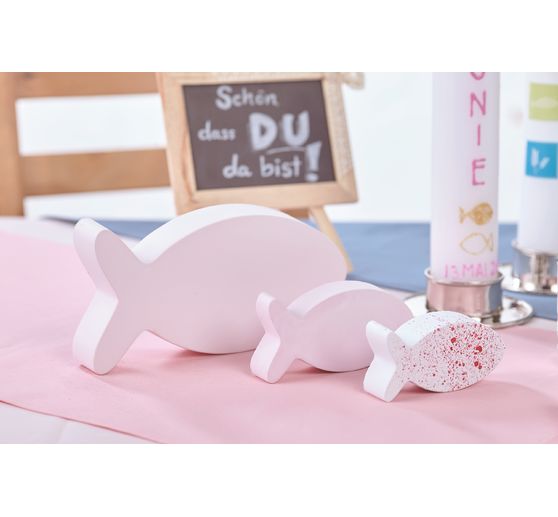
Uformowane przedmioty nie tylko przyciągają wzrok, ale są również wszechstronne. Można je przekształcić w morską dekorację stołu lub wykorzystać do ozdobienia stołu na patio. Ryby wprowadzą atmosferę plaży i morza do Państwa przestrzeni życiowej. Zwłaszcza w połączeniu z siecią rybacką i innymi marynistycznymi przedmiotami tworzą przytulną atmosferę.
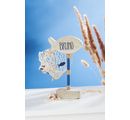
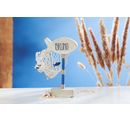
Świetnym sposobem na spersonalizowanie Państwa rybek jest pokrycie ich złotem Inca. Kolor ten jest dostępny w różnych odcieniach i nadaje Państwa rybom wyjątkowy charakter. W ten sposób powstają wyjątkowe przedmioty, które doskonale nadają się również na upominek lub pamiątkę.
Proszę przekonać się, jak wszechstronna jest forma do odlewania "Fish". Stwórz swoje własne marynistyczne dekoracje. Zamów już dziś i wprowadź marynistyczny klimat do swojego domu!
Tips to use:
Preparations:
Mix the desired casting compound according to the instructions. If you wish, you can color it with color pigment powder.
Application:
Slowly pour the mixed casting compound into the casting mould. Leave a rim of at least 2 mm free to make it easier to demould your casting later.
Gently tap the casting mould so that the mixture is evenly distributed and any air bubbles come to the surface. You can then prick these with a lace object.
Time to dry:
Allow the casting compound to harden well. Follow the drying times specified in the instructions for the casting compound.
Work to finish:
You can now demould your casting. If the casting does not come off simply by dropping it, you can carefully loosen the mould all around with your fingers and tap it against the mould.
Good to know:
For detailed moulds, we recommend using a mould release agent or release wax to protect the mould.